This post was updated on October 9, 2022
If you’re looking for the best digital tools for design to take your interior design game to the next level, you’ve come to the right place.
Visual communication is so important in interior design. You could have the best ideas in your head, but if you don’t have the right tools to communicate them on paper, it’s almost pointless.
Lucky for us, there are so many tools out there to help with that. You could go the good old pen and paper route, but some of us may not be artistically inclined in that way. Plus, there are always restrictions when it comes to hand drawing. So that’s why I put together my top 3 digital tools for design. These have been lifesavers, whether it’s for actual projects or even interior design blogging.
On top of these tools, I would also recommend having a powerful laptop or desktop computer (think Macbook/Surface Pro, not chromebook) and an iPad that you can use with a second generation Apple Pencil. These devices are what you will use the following tools on.
The best digital tools for design are:
1. Canva
2. Procreate
3. SketchUp
4. Floorplanner
#1 digital tool for design: Canva
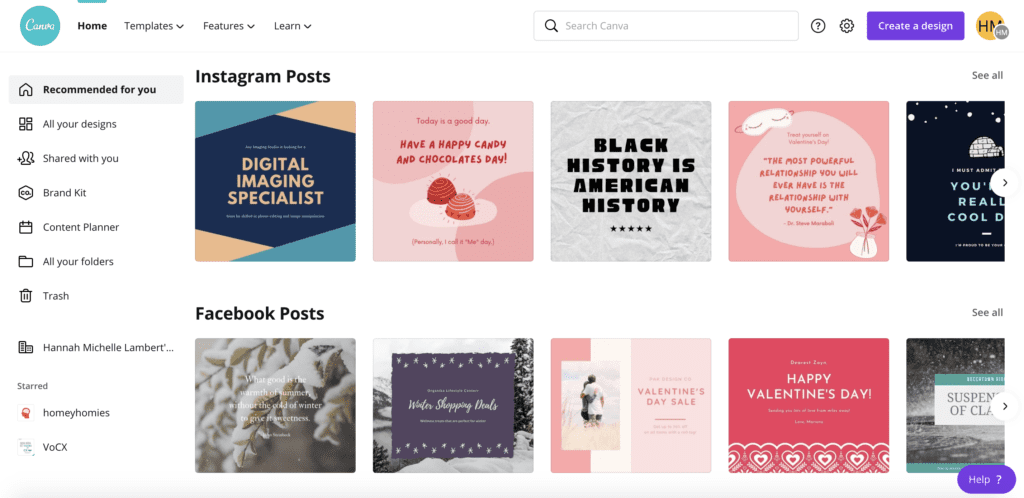

I’ve talked about Canva several times before on this blog because I’m so in love with this platform. It’s been a staple for me since college. It’s easy to use, has so many amazing pre-designed templates to work with, and there are tons of ways to use it.
Overall, I consider Canva a necessity for interior design.
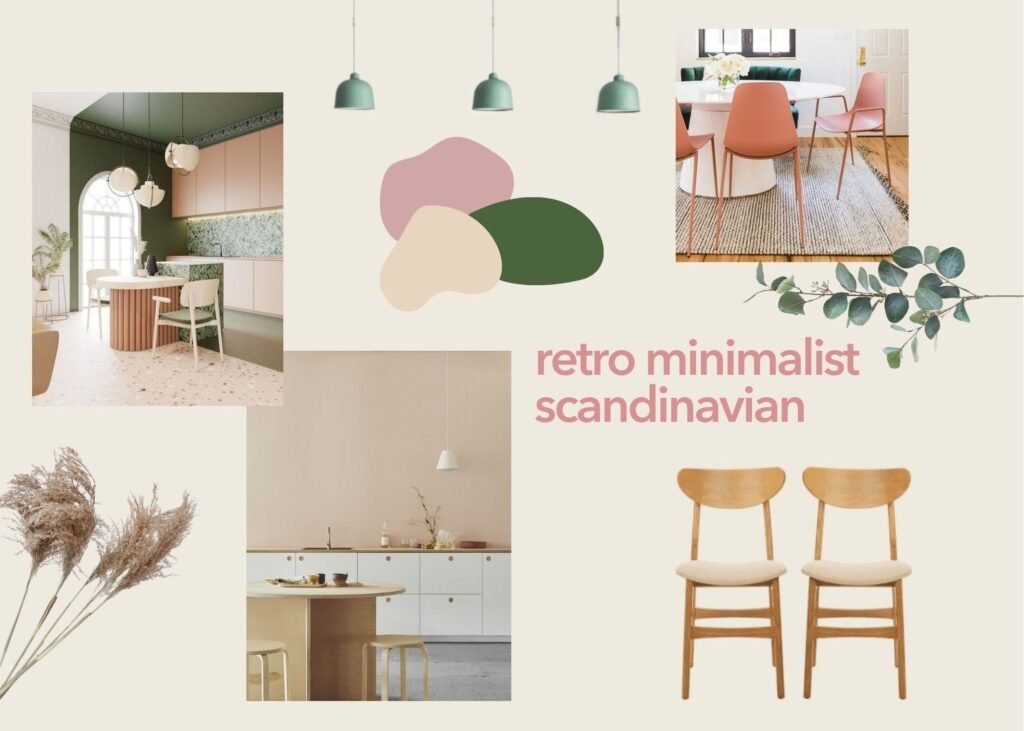
The most common way that I use Canva is in creating mood boards. I offer mood boards as a service on my fiverr account, so I’m always creating them. Canva makes it really easy to create a template/theme that I like, and just work from there.
Although there are tons of capabilities on the free version of Canva that I love, it’s worth having the Pro membership to make mood boards for the “background remover feature.” Basically, you can take any photo from the internet and create a clear background to put on your mood board. This makes the whole thing so much cleaner without having to take forever to find photos with a clear background or using a third-party tool.


Canva is also amazing to use for any business materials. I used it to create my first logo, my portfolio, any downloadable content I create, social media graphics, headers for proposals, and so much more. When you have a pro account, you can save your brand colors, logos, and fonts to your Brand Kit, which makes it really easy to create really cohesive materials.
I even use it to deliver some design projects. Below is an example of a delivery I made a few months ago:
Elizabeth Design Project by Homey HomiesYou can check out my YouTube video about how I use Canva as an interior designer. Otherwise, here are some examples of things I’ve made using Canva:



pricing
Like I said, Canva does have pretty robust free capabilities. When I was just using it for school stuff, it was plenty good for me. But now that I’m using it for interior design and blogging, the pro version really helps things look a lot more professional. Plus, there are so many more templates available as well as other random capabilities that are just cherries on top.
And it’s pretty affordable!
You can pay either monthly or yearly. If you do it per month, it’s $12.99, and if you pay yearly it’s $119, which works out to be $10/month. You can also try it out for free for 30 days to see if you like it. And I guarantee you will.
You can head over to my full summary of whether Canva Pro makes sense for you and your needs. Or you can go ahead and sign up for your free trial now if you’re ready to make the leap.
More resources on Canva for interior design
How I use Canva as an interior designer


#2 digital tool for design: Procreate


If you have an iPad with an Apple pencil, you NEED to get Procreate. I had to include this on my top digital tools for design, because it really takes your designs to the next level.
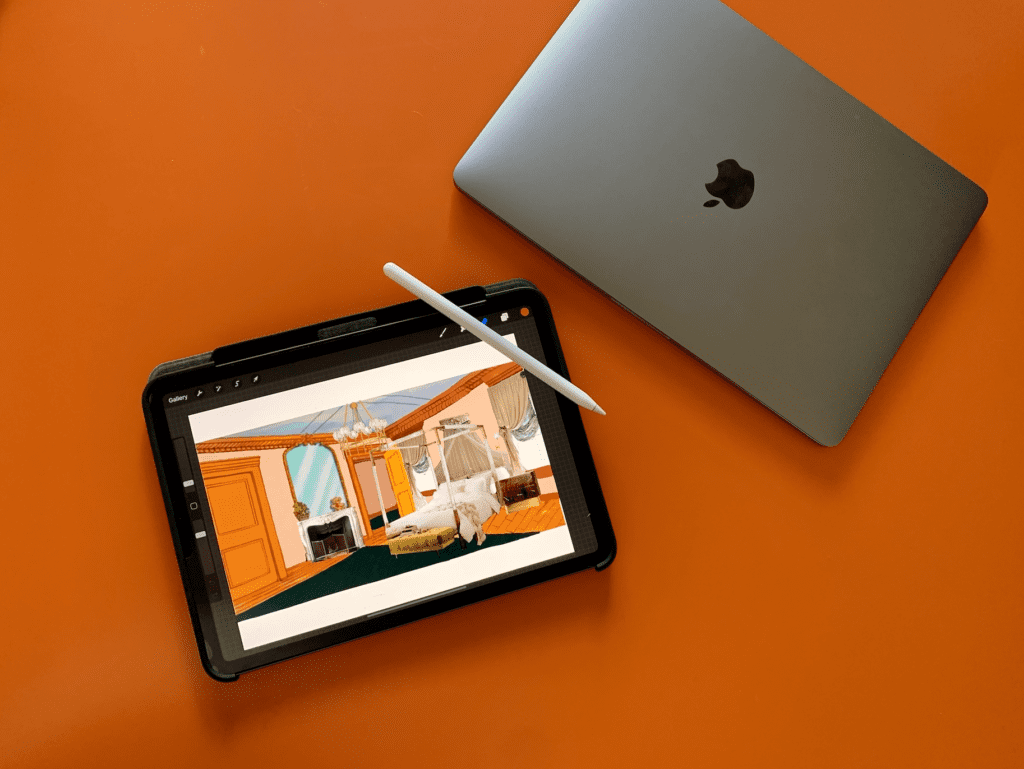
If you’ve ever seen my “digital redecoration” posts, you’re seeing the product of Procreate. The most basic description of Procreate is that it’s a digital drawing tool, but it’s so much more than just a digital version of paper.
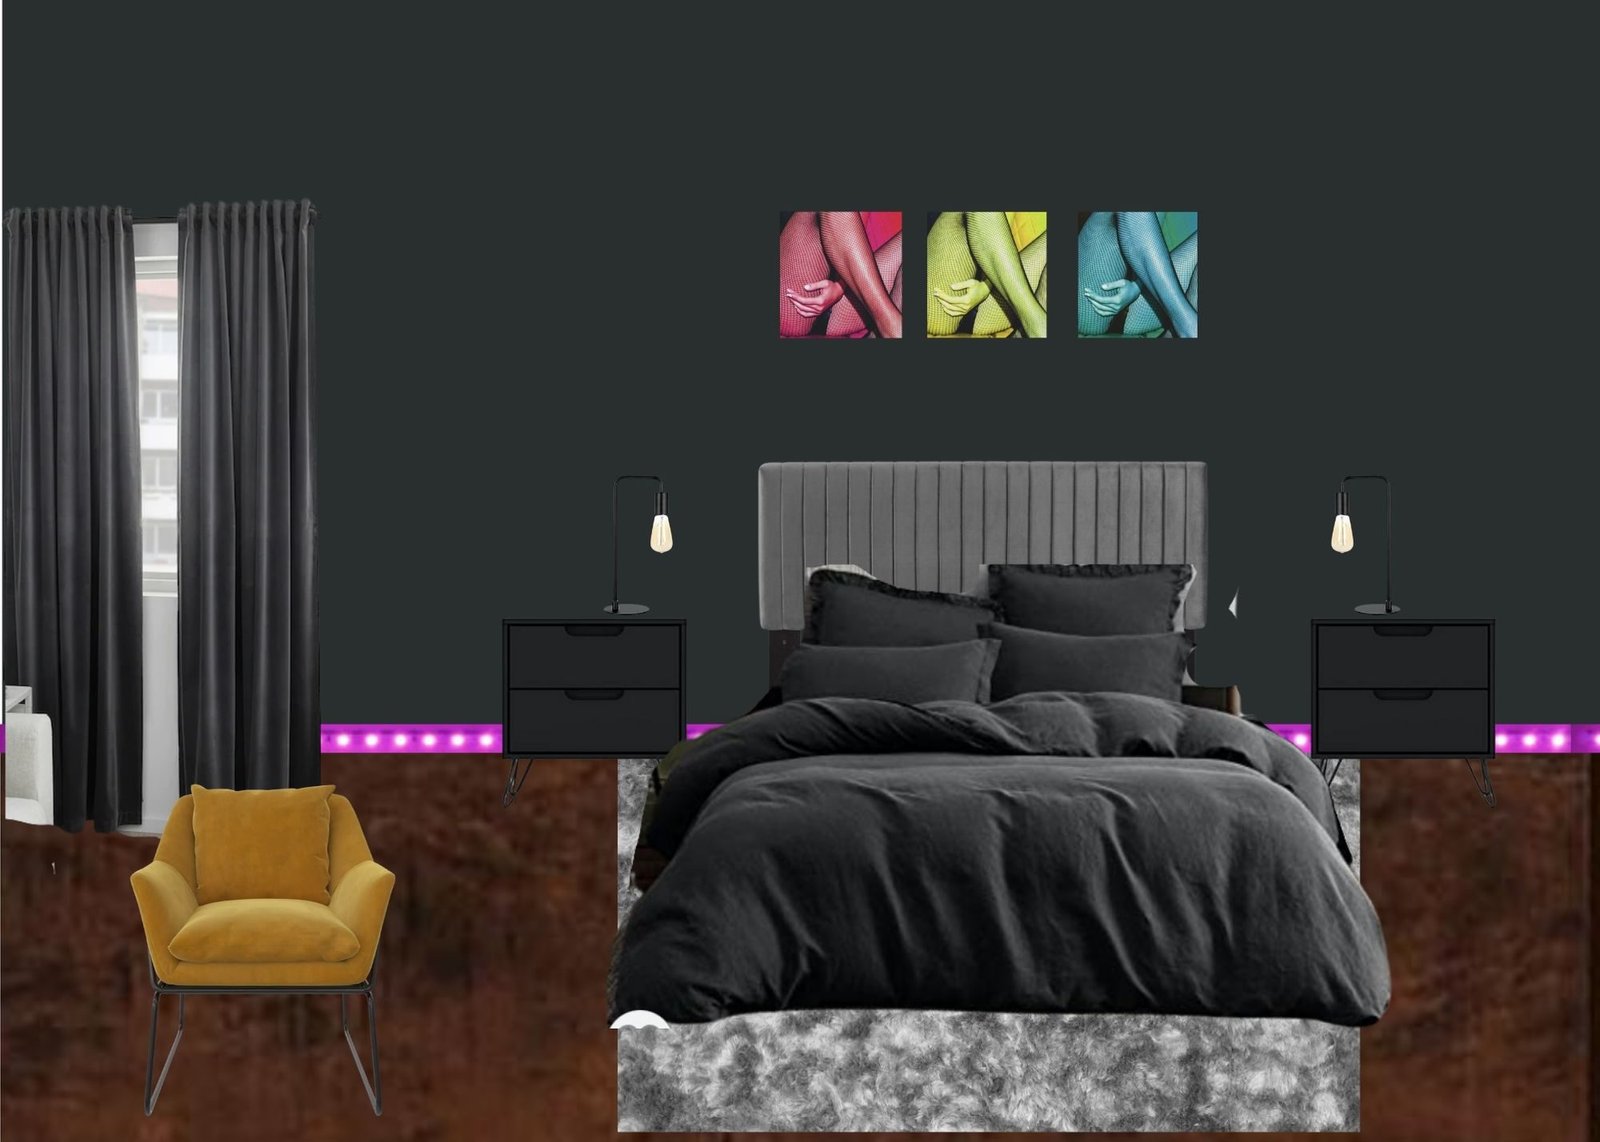
If you’re an actual graphic designer or illustrator, you can take much more advantage of the capabilities. But even for simple room renderings that I make, it’s amazing. I like using the different “layers” to insert an image of a room I’m going to be redesigning and basically just draw over it. With all of the different types of brushes/pens and the color picker tool, it’s really easy to recreate realistic-ish renderings of rooms.
@homeyhomies i’m literally out of breath from rushing through that voiceover lol also count how many times I say “modern” – I promise I know more design terms than that 😂
♬ Friends Theme (Instrumental Cover) – The Acoustic Guitar Force
This isn’t to say it’s photoshop material, but it definitely beats just copying and pasting things into a word doc. You can take pictures of the real rooms you’re redesigning, paste them in, and use layers to add different furniture items, flooring, and paint to show your clients the possibilities. (having Canva to insert items with a clear background is a HUGE help here)
Here’s one of my before and afters from my digital recreations
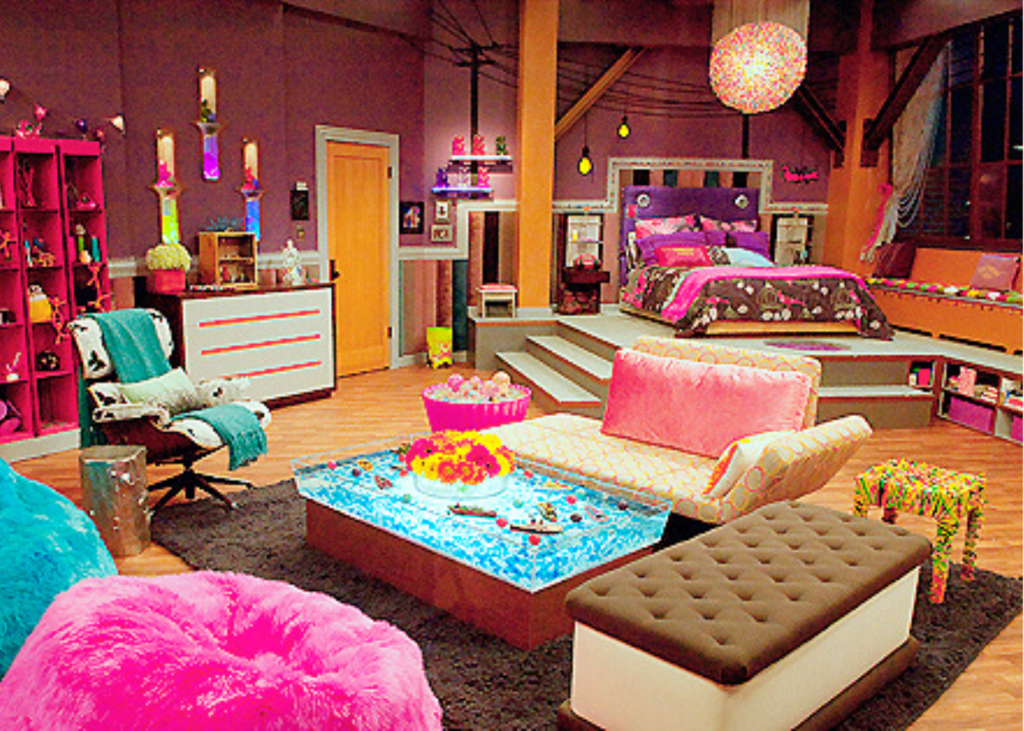


This isn’t exactly for interior design, but it’s just another fun capability of Procreate. I love to insert photos and do tracings over them. These have become one of my favorite pastimes when I’m just watching TV or listening to music. And they make great gifts.
(p.s. if you wanna custom order one of these prints, you can purchase them from etsy or fiverr)


pricing
The best part about this: it’s a one-time purchase instead of a subscription. You pay $10 and it’s yours forever. Honestly, I would pay $10 just to play around with this. So the fact that I can add it to the arsenal of my design tools for such a low price is amazing.
See Procreate in action in interior design
#3 digital tool for design: SketchUp
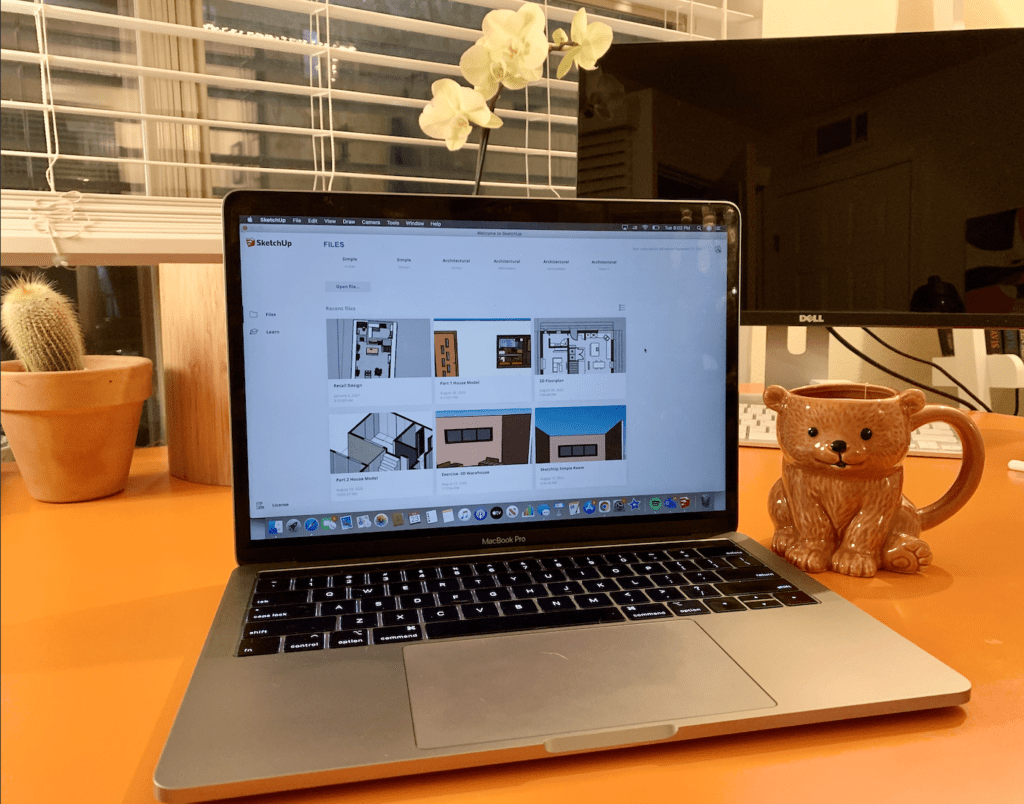

SketchUp is the big boy when it comes to digital tools for design. If you really want to show that you’re on your shit when it comes to design, this is a huge asset.
A disclaimer here is that this is definitely the most complicated of the tools to use, but well worth the effort it takes to get the hang of it. I ended up taking an advanced Interior Design Institute module to learn all the ins and outs, and it was insanely helpful.
Basically, the capabilities here are for floorplans. You can create a 2D floor plan, but where it really shines is with 3D renderings. It’s a little tedious since it’s all based on shapes and angles and geometry and shit, but once I did my first 2 mock renderings, you get into the flow.
@homeyhomies interior design is really just like real life sims and i love it
♬ original sound – bratz
When I tell you that this makes you look like you’re ON YOUR SHIT, I’m not kidding. Being able to swoop in with a full digital walkthrough of your proposed design scheme is next level and will definitely leave a really good impression on your clients.
Or, if you’re just making mock projects for blogging or to build your portfolio, this can really help you diversify the way that you can show people your skills.
pricing
If you’re a student in a field where 3D modeling is relevant, you can get the student pricing for $55/year. This is a cheaper version of SketchUp Studio, which is their most expensive plan (at almost $1200/year, yikes). Luckily I was able to get this discounted rate because of IDI.
But if you’re not a student, there are several other options that you can review here. Other than the Studio plan, their plans range from free to $299/year.
The most popular is the Pro plan at $299. The free version is a great way to get a feel for how the platform works. But it can be a bit laggy, you have less options in the marketplace, and you can’t upload custom patterns. So there are some definite limitations to this free version, but it’s great for some basic 3D modeling capabilities.
See Sketchup in action
My dream home office with the blue M1 iMac
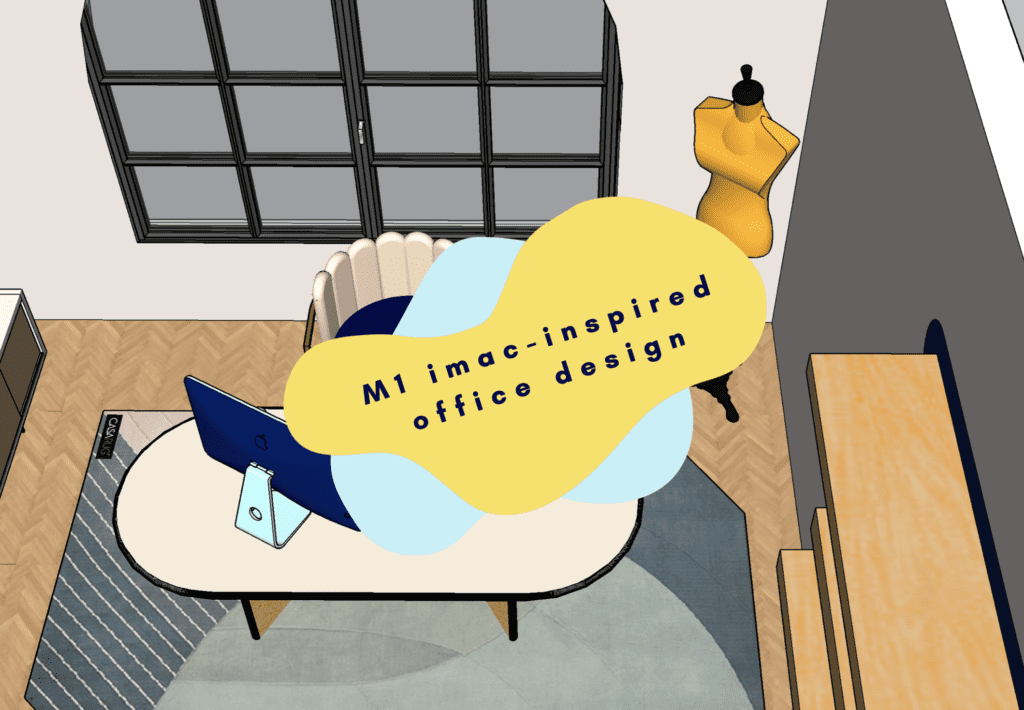

@homeyhomies highly recommend making a 3D mock-up of your dream apartment when you’re antsy to move. fully addicted to SketchUp
♬ I Like – Guy
#4 digital tool for design: Floorplanner
While you can make floor plans on SketchUp, it’s definitely a larger learning curve, and it may not be worth the effort for some smaller, quicker projects. So if you are looking to throw together some quick and easy – but still beautiful looking – floor plans, Floorplanner is for you!
Before I found floorplanner, I would make most of my digital floor plans on Canva (besides the few I decided to do in Sketchup since I was 3D rendering anyway). And while this works, it was extremely tedious since that’s not what Canva was built to do. literally, I would have to create boxes that i would copy and paste a million times to use as my scale reference. What the hell was I doing, seriously.
Floor planner is extremely easy to use, not even just in comparison. When you create a new project, they give you several base shapes to start out with as well as inspiration layouts or a blank canvas. From there, it’s really easy to adjust dimensions, add in architectural structures, place furniture, and more.
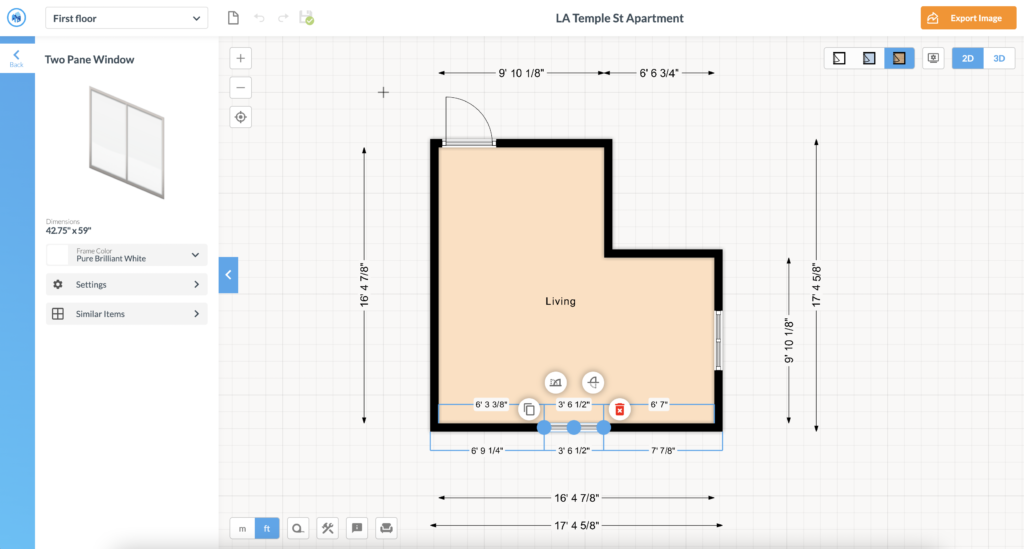

And one of the best things is that you can view it in 3D, too. While this won’t be as polished, professional-looking and customizable as something you create in SketchUp, this is great for someone who is dipping their toes in providing a 3D render options to clients. (Or if you just want to see what your space will look like when you’re done!)
pricing
The best part about Floorplanner? They have a free version!
Here’s a look at their different pricing tiers.
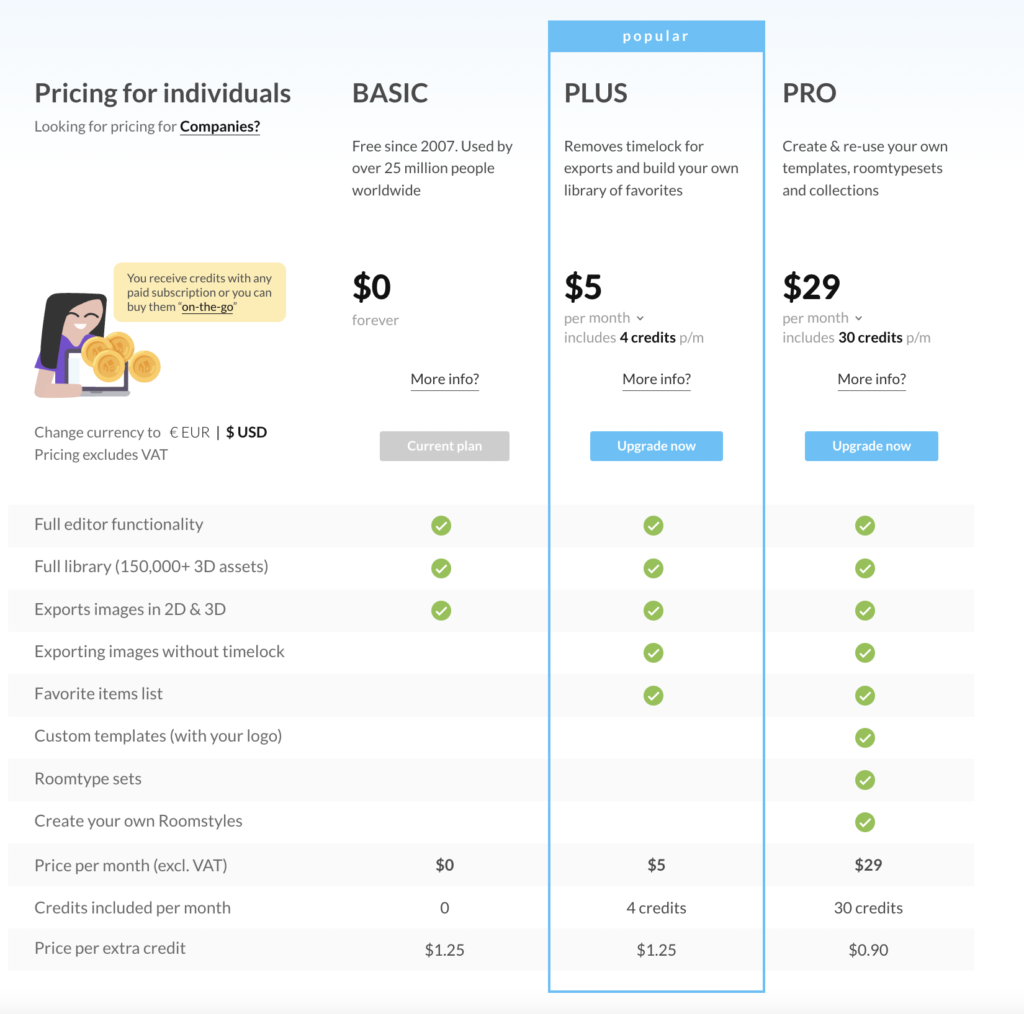

For some basic floorplanning functionality, I’ve found the free plan to be more than enough for me. But as with any software that has a free version, I would recommend playing around with the free version for as long as you need to feel out any gaps that may exist between the software and your needs.
Even if you do decide to upgrade, just $5 a month will get you to their most popular plan.
A note on credits: I was a little confused what exactly these credits were used for when I first got on the platform. Essentially, credits are just used to run higher-quality exports. This may be an important consideration for high-caliber clients.
See Floorplanner in Action
Building my dream living room with Floorplanner + Procreate
So there are my top digital tools for design!
Each one of those make my life — as a blogger and as an interior designer — infinitely easier and honestly more fun, too. If you’re gonna start somewhere, I would recommend Canva though because of its versatility. But once you’re ready to step it up a notch, give Procreate and a SketchUp a shot for sure.
Let me know if you’d like any more insight on digital tools in the future! I’m pretty much attached to my iPad, so I have tons of tips and tricks there if you need any. Let me know in the comments below!
keep it homey, homies
About me
Hey my name’s Hannah Michelle Lambert, the voice behind homey homies. I’m an LA-based designer, writer, and content strategist. I’m passionate about the intersection of productivity and creativity. I love talking about creative habits, technology, processes, and everything in between that helps me blend the Type A and Type B parts of my brain.







Leave a Comment