I’ve said it a million times and I’ll say it again: one of the hardest parts of an interior design process is getting started. You have so many ideas for cool things to do and only so much house to work with. Part of you might want retro, part wabi sabi, part industrial. But how do you know where to go from there? You have to settle on a clear vision before moving forward, or else you’ll end up with a room or home that doesn’t even match itself. That’s where a mood board comes in.
I’m pretty sure most people who were creatively inclined have done a mood board at some point in their life. And not just for interior design. Tumblr is basically one huge mood board. All of your boards on Pinterest are a mood board. So most likely, you have a little experience making general mood boards. But when you’re making one for an interior design project, specificity and intentionality are key.
So, this takes a little more work than just your casual Pinterest scrolling, but it can still be really fun and get you hype to finish — or start — your project. Sometimes it just takes a little guidance to know what you’re doing when you first start.
And that’s why I’m here! Here are my best tips for creating a kickass mood board for a clear vision on where to go next.
first, spend some time scrolling and flipping
The best way to get inspired is just soaking in everything you can from around you. This could mean reading through Architectural Digest, scrolling through instagram, or looking through Pinterest to see what you like.
At first, it could just be general. You might see something in a piece of artwork or a bathroom design that will inspire you for the theme of a living room you’re designing. I think it’s always best to start broad for the big picture theme.
After you’ve decided generally what vibe you wanna go for, then narrow down your search. So let’s say from your big picture pursuit, you decided you want to do a funky mid-century theme. Pinterest is going to be your best friend next because it’s basically a visual search engine.
So if you’re doing an office, from there search “funky mid-century office.” Or “quirky mid-century office.” Any precise vibes you want to communicate, type them there.
put your inspiration pictures on your board
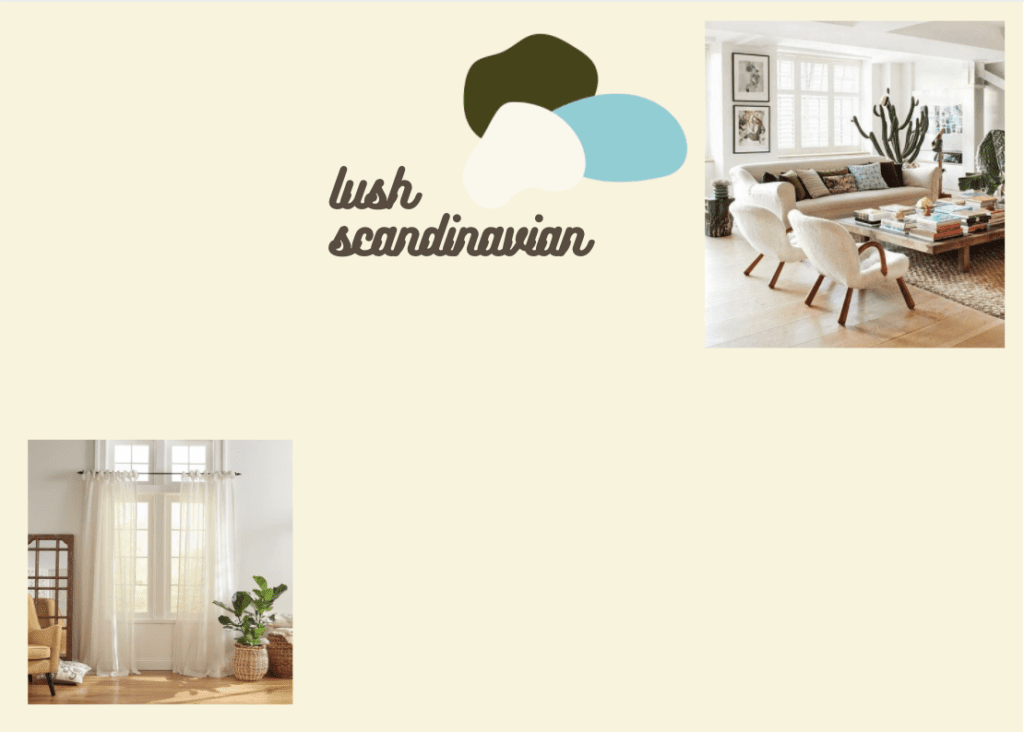
From this search, save 2-4 pictures that encompass most of what you want to base your design off of. You might not find rooms with the exact aesthetic you’re going for, but you can just put pictures of certain areas that inspire you and pull from what you like.
Title the theme that you’re going for and put it in a font that matches the vibe. This is your first layer.


color scheme comes next
Once you find a good set of inspiration photos, you’ll likely have a couple of colors that are dominant. Pick out your favorite colors and use those as your color scheme. For most rooms, I include at least one or two neutral (or neutral-ish) color and one or two more statement colors.
Color schemes could be a whole blog post on their own (let me know if you’d like to see that!), but in terms of mixing colors, the short of it is just use your intuition to choose colors that just feel good together. You should feel a harmony.
When it comes to the mood that you’re trying to communicate in the room, there is a very direct connection between that and color. For some help on which colors produce which moods, check out the chart below.

Display these colors on your mood board, preferably in a way that represents your vibe. For example, if you’re doing a geometric retro theme, put these colors on your board as geometric shapes next to each other.
For this example board, I want lots of organic, soft looking details, so the color blocks reflect that.

what furniture pieces work in your space?
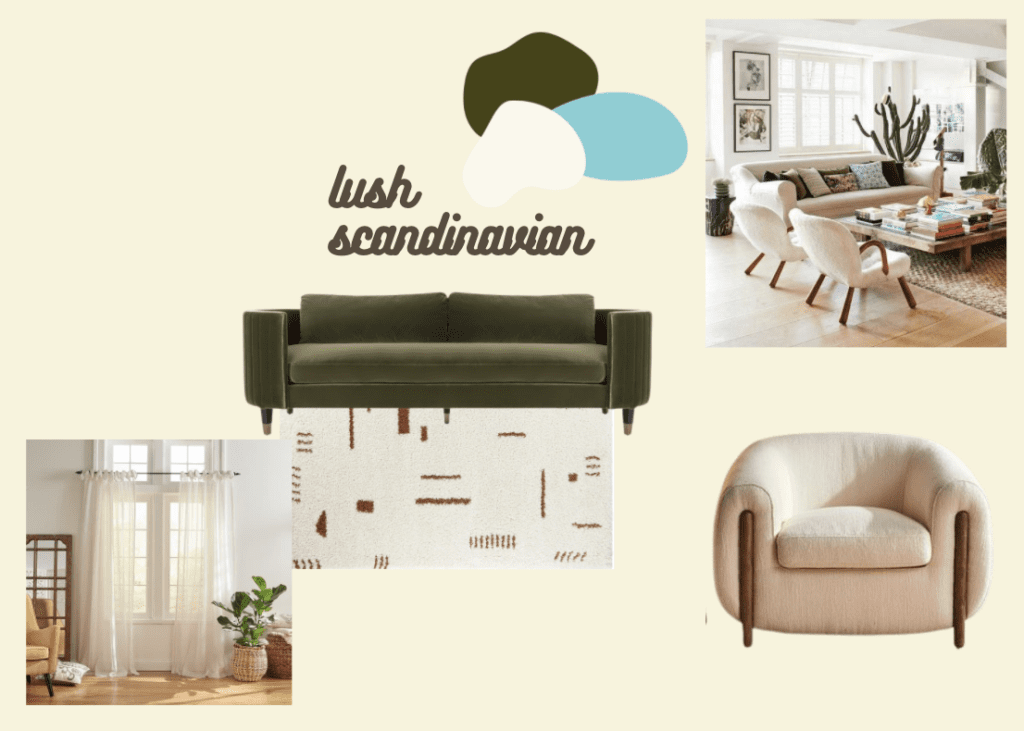
It’s helpful to consider which types of furniture you’re actually going to be putting in the space and include specific inspiration for those on the mood board. I would definitely recommend that most, if not all, of the furniture that you include be a type of furniture that you’re intending to buy.
Leave the other furniture that you’re looking to purely for the ~vibe~ inspiration to the general inspo pictures you put on your board in the first step. For example, a certain dining table might be some great inspiration, but if you only have island seating to work with, including the table might get in the way of actionable insight.
When you put furniture on your board, it’s generally better to insert them with a clear background just to help the board not get cluttered. I have Canva pro, so this feature is included there. Honestly, I use Canva for so many things when it comes to interior design, so the pro upgrade is extremely worth it.
If you don’t have the ability to remove the background from your photos, don’t worry. Just try to crop it as close as possible without cutting off anything from the background awkwardly.

details to add some depth and inspiration to your mood board
Now, you have almost your whole mood board built out! It’s just time to finish it up by adding all of the extra little details that will make your design unique. This could be something like artwork, plants, or candles. I also like to add a light fixture to almost every mood board. But it could also be certain phrases/words or illustrations that you want to keep in mind as you’re going through the design process. Anything that will help you stay centered around your theme is great to include. Just make sure you’re not cluttering it too much.
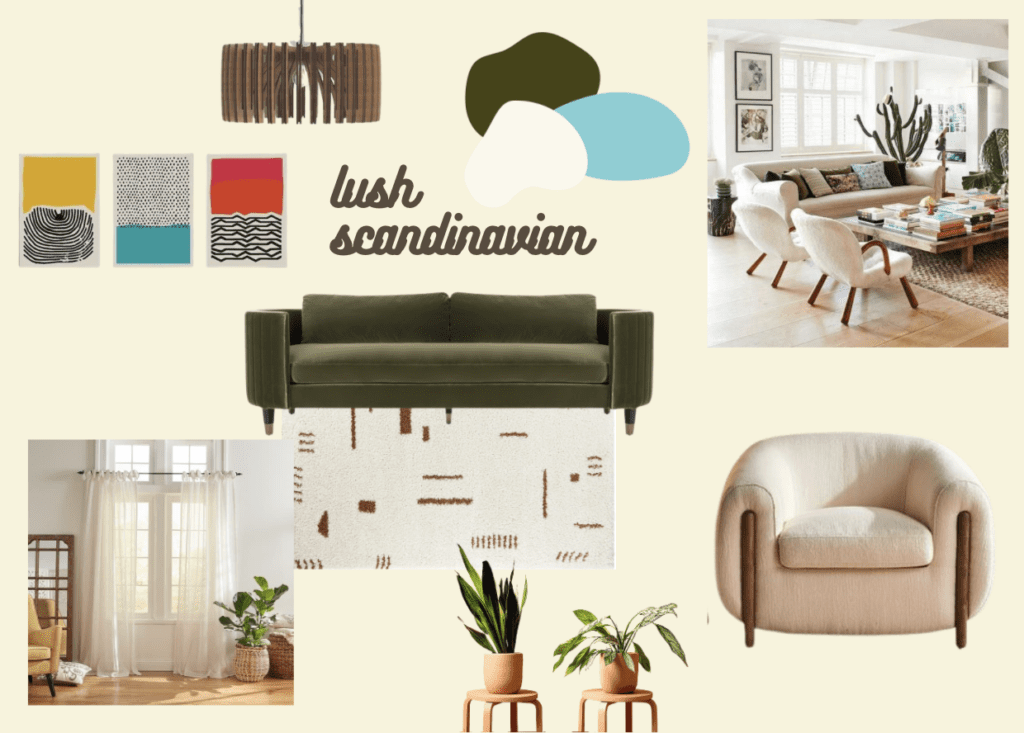

Now that you have all the layers on your mood board, this is your blueprint for designing! Don’t feel forced to stick to exactly the things you put on there. For example, just because you pasted in a blue couch, it doesn’t mean you need to get a blue couch.
A mood board is meant to be an inspiring and guiding hand, not a restrictive guideline. I would recommend staying with the general theme that you communicated on your mood board, because otherwise this exercise was pretty much a waste of time, but feel free to modify the actual items when you begin your search to make purchases.
And go have fun with it!
Feeling a little overwhelmed getting your start?
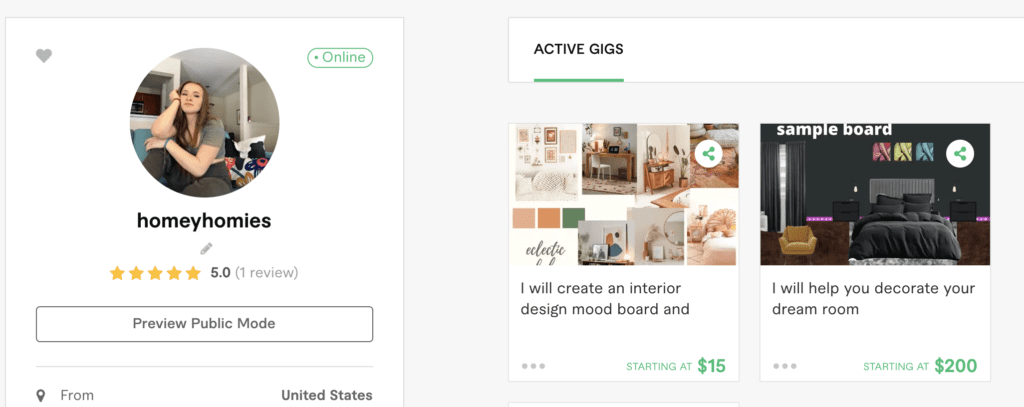
Don’t worry, it can be at times. But luckily, there are options to have some of the burden of the initial brainpower taken off you. If you’d prefer to just brain dump your ideas, talk a little bit about what you want the room to feel like, and have someone else do it for you, I got you on that. Check out my Fiverr gig. For just $15, I can bring your vision from your head to the paper. Just head to this link to submit an order or find out more information.




Leave a Comment