
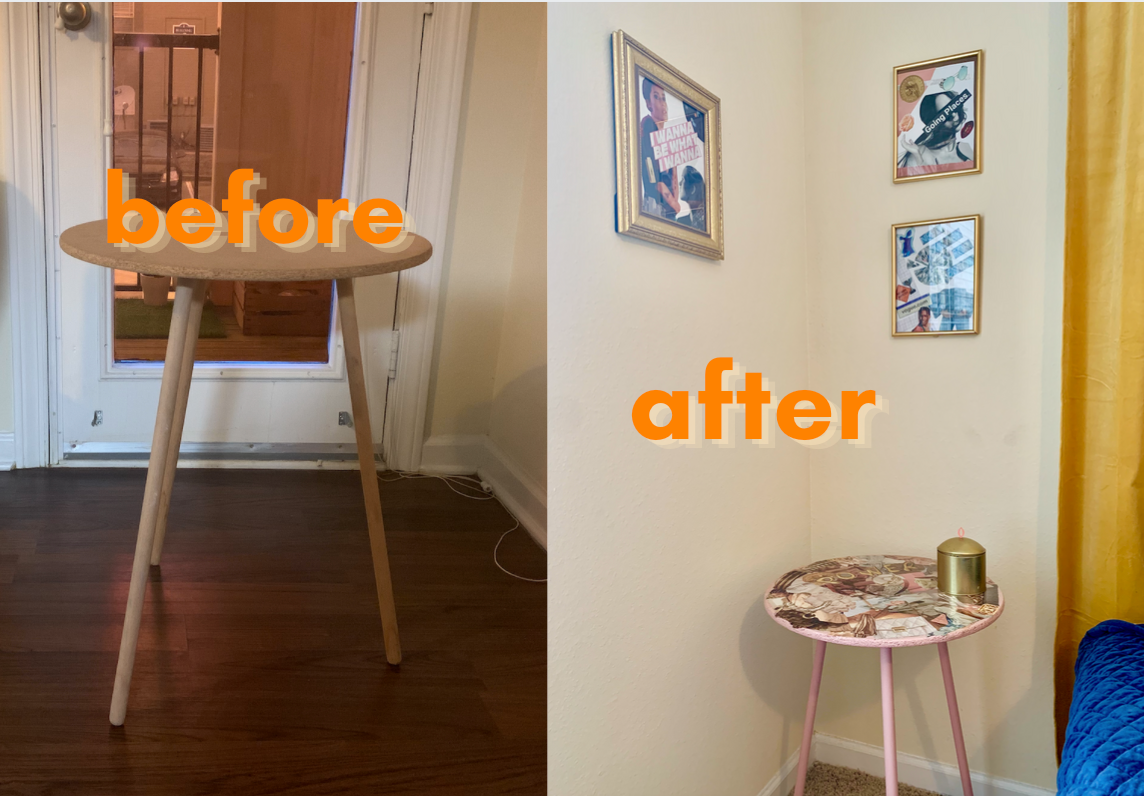
And we’re back with another DIY! This time, it’s time to upcycle a cute little table I found at Goodwill for just $7. I figured now was the perfect time to finally test out modge podge. I grew up with an artist as a grandma, so I’m sure I’ve used modge podge before, but never in my adult crafting life. So I decided to get some and try it out to create a collage side table.
Disclaimer: I didn’t end up with a product that I’m 100% in love with. But I have some tips for you so that you do. As always with DIYs, my failures are your lessons.
what you need
- small table – use an old one that you wanna change up, or check your local thrift store or facebook marketplace!
- modge podge (I got a huge one, but could’ve totally gotten by using an 80z one or even smaller)
- clear acrylic topcoat – get a small sample from the home improvement store. these are typically only around $5 or less
- paint color of your choice
- paint brushes – one for small details, one about 1.5″ thick
- magazines
- scissors
- a squeegee
You’ll also need some patience. Since you have to let both the paint and the topcoat dry for either several hours or overnight, I didn’t get to the final product until day 3. And there was a little frustration mixed in there as well. So come prepared with some patience.
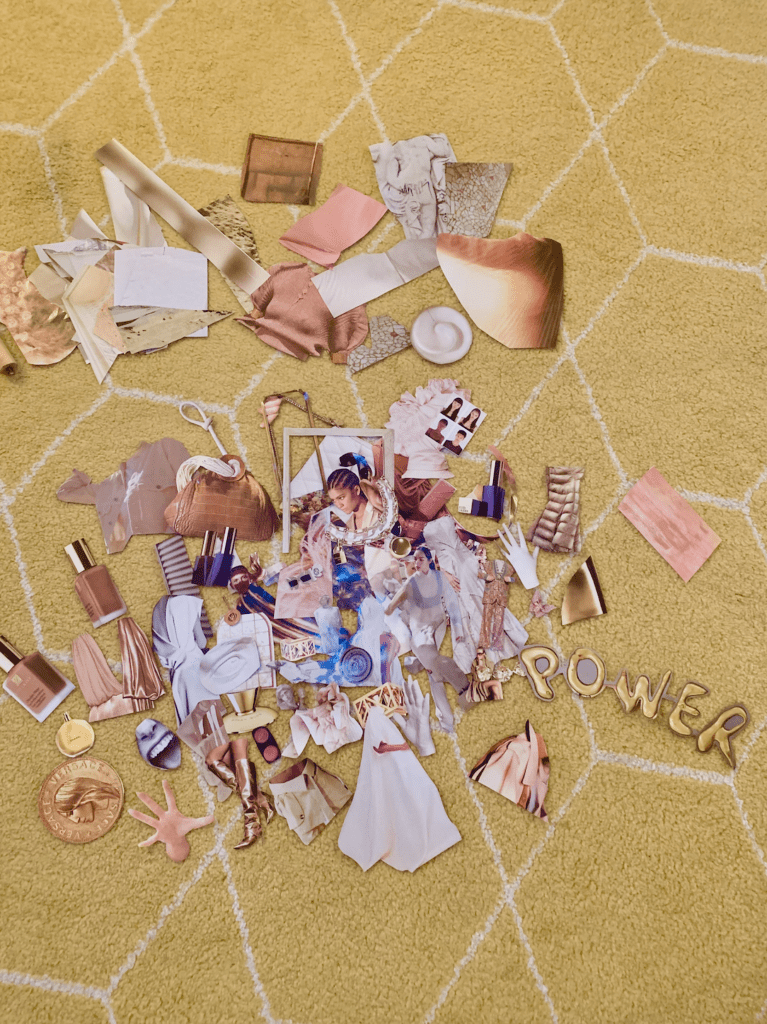
step 1: decide your color palette
Before you dive into cutting out your magazine clippings for the collage part of the collage side table, decide on a color scheme. Otherwise it can be easy to clip anything that looks cool and end up with a mess of a collage.
I recommend choosing one base color (I chose cream) and a couple of accent colors (I chose blush and gold).
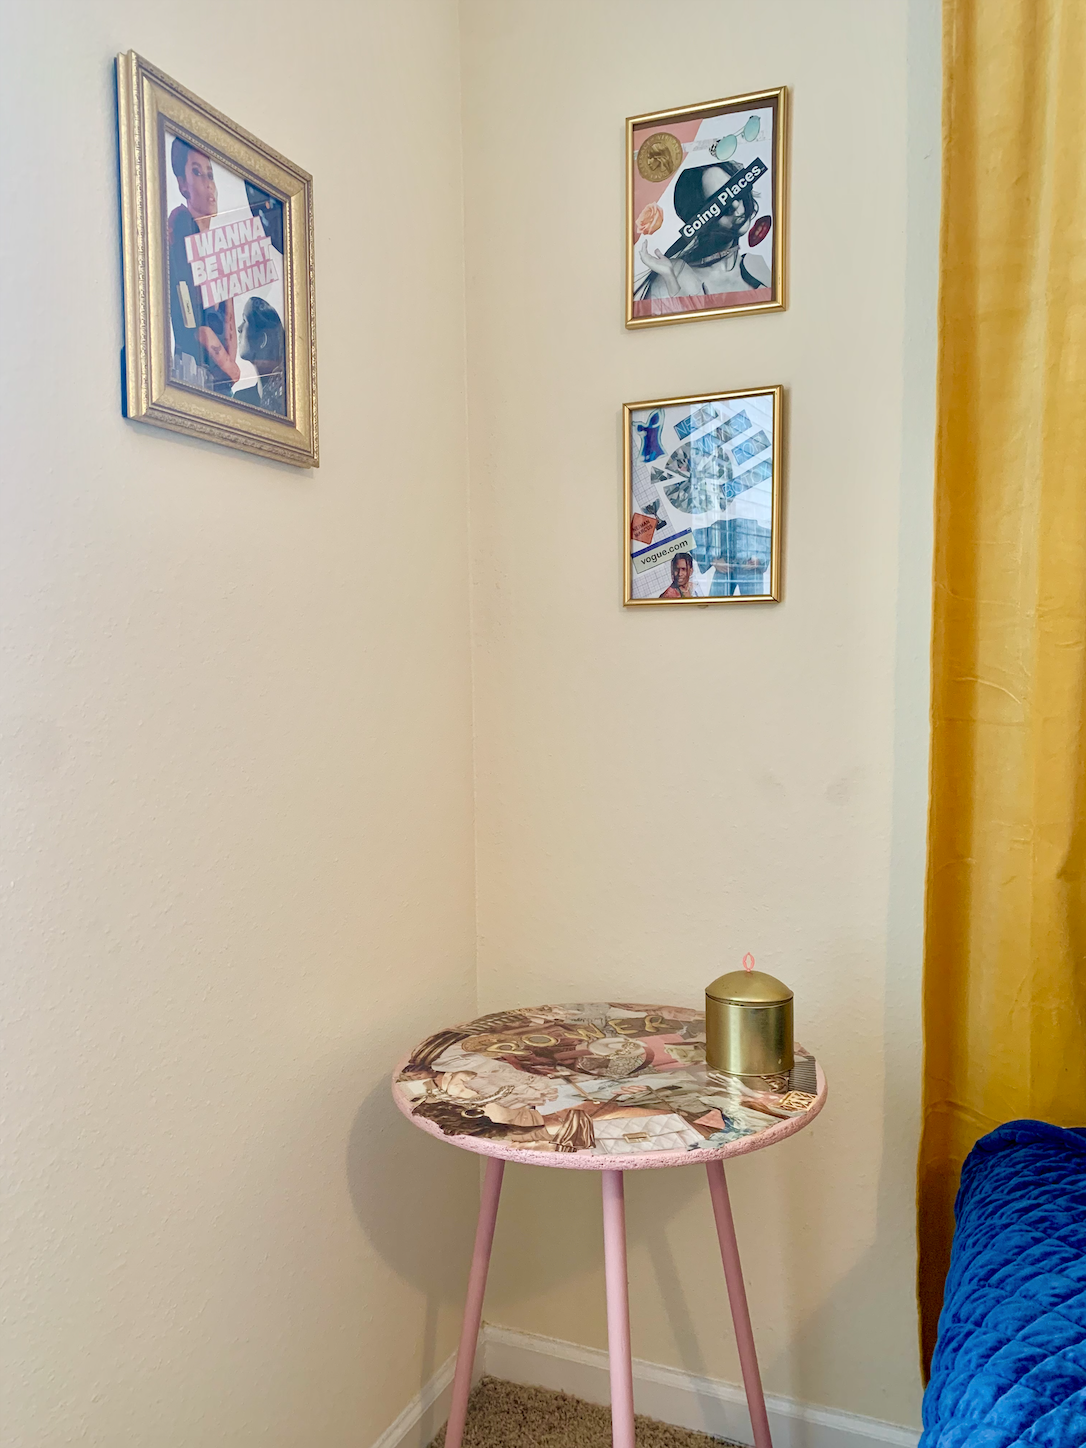
This color should correspond to the paint color you select. I decided to paint my table blush just so it can make the small pink accents in the collage stand out since it was an accent color.
step 2: paint your table
I was a little dumb and for some reason decided to paint after I glued down the collage. I had to paint around all the little edges. Don’t do that.
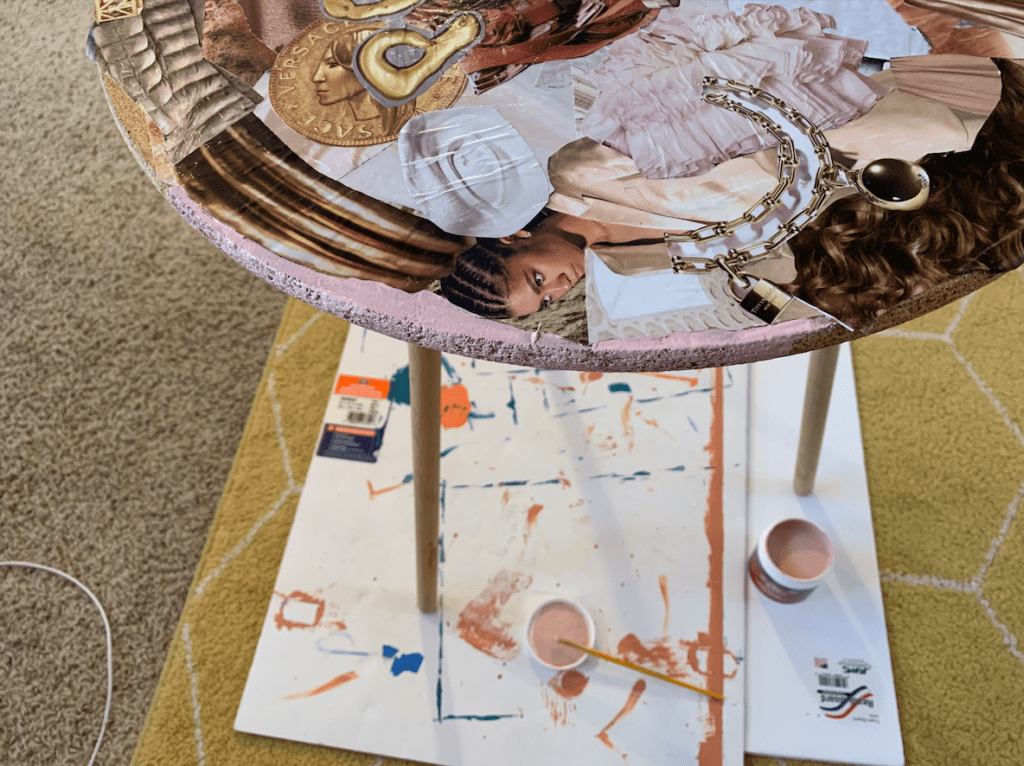
Just paint the whole thing and allow it to dry before you get to collaging. I painted basically every surface on the table to give it the fully finished look. This included the underside of the tabletop.
While you’re waiting for it to dry, go ahead and work on steps 3 and 4.
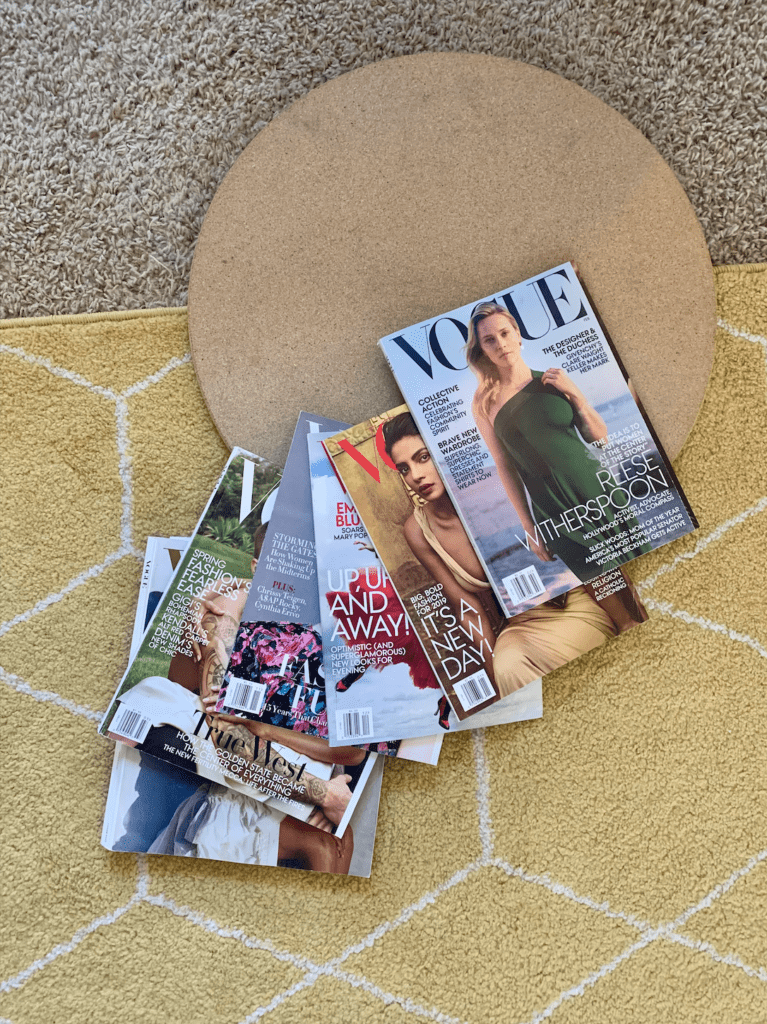
step 3: cut out the clippings that you want from your magazines
This part is tedious but fun. I flipped through about 4 issues of Vogue (and one was the September issue so it was HUGE). Rule of thumb is definitely to cut out more than you’ll need. It’s better to have too much than to have too little and have to go back and cut in the middle of gluing.
I basically just went about cutting anything that fit the vibe and color scheme that I was going for. I knew my color palette before, but I decided on the vibe as I was going along and found the first several clippings.
You’re going to want to try to find a good mix of sizes. If you clip all big pieces, it’s hard to collage them together. And if you choose too many small pieces, it’s gonna look cluttered and overwhelming. Find a good mix of small, medium, and large.
step 4: split the clippings into groups
Since you cut out a variety of sizes, now you’re going to separate them into groups. I did two groups, but learn from my mistakes and do three.
1. large, non-busy pieces. These will be used as your background layer, so don’t put anything that you want to be displayed on top.
2. medium sized pieces. These could either be more non-busy pieces to fill in the gaps on the background layer. Or they could be larger pieces that you want to show through in the final product.
3. small pieces. These are the ones you’ll finish off the project with. They can be used to fill in all the very small gaps where you can see the tabletop peeking through.
step 5: arrange and glue down your background layer
Without gluing, arrange your background layer on your tabletop and play around with how you want it to look. This is all super subjective, so just move it around until it feels right. It’s okay if there’s still some tabletop showing through, but try to minimize the amount you’re going to have to cover with other pieces by keeping things bunched together and overlapping.

Once you’re satisfied, go ahead and glue it down by painting modge podge on the backs of the pieces and pressing them down.
What worked well for me was just to lift up edges of pieces, apply the modge podge, and stick it back down. Once you get the first couple of pieces down, you’ll notice that you’re kinda getting the opposite of a domino effect. Since your background pieces are likely overlapping, the more pieces you glue down, the more will be stuck down underneath them without you have to glue them.
step 6: work in small pieces for your top layer
Now, start building up the final product. Start with your medium-sized pieces and fit them in where some bigger gaps need to be filled.
Then it’s just a matter of fitting all of the smaller pieces in, in a way that looks pretty. I noticed that as I was creating my collage, I ended up having to totally cover up some pieces I put down previously. This can be partially avoided by really working your way from largest to smallest, but to some extent it’s inevitable. That’s why it’s important you set aside any pieces you really want to show on top so that you can ensure they won’t have to get covered.
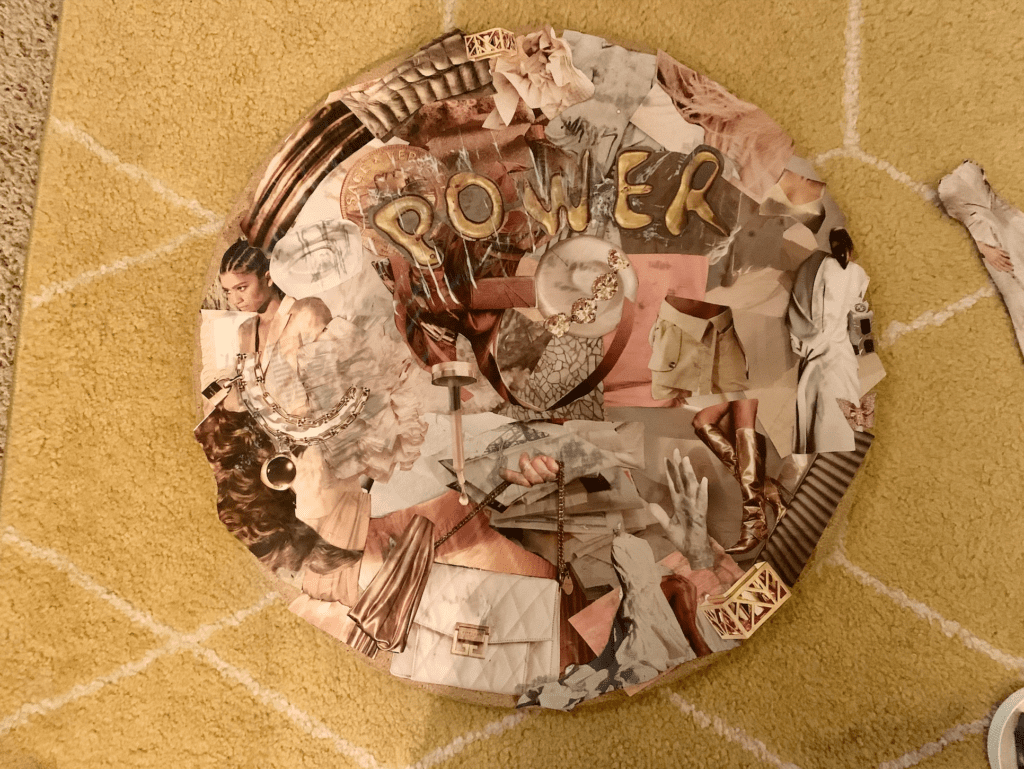
Again, go with your gut and keep going until looking at your collage side table makes you happy. Don’t feel like you need to use every single piece that you clipped. You don’t want it to be overkill.
step 6: give it a modge podge topcoat
I would recommend letting the modge podge that’s holding your pieces on dry. When I tried to do it too quickly, I ended up ripping one of my pieces.
But once it’s dry, this is super simple. Just use a medium sized brush to spread it around evenly so that it’s covering the whole surface. This will just help to keep everything solidly stuck to your tabletop.
step 7: pour the acrylic topcoat
Not gonna lie, this part was fucking annoying. It was a last minute decision to finish the table off with this to give it a little more longevity and resistance to wear and tear. But it’s not easy to work with.
So here’s where I think I went wrong. I swirled the full amount of the liquid on the surface at once. But I would recommend doing it in chunks. Doing it all at once causes some pooling. Pour a little at a time, tilt the tableop to spread it around evenly, then move onto another spot.
Another thing I recommend you doing differently than me is to not use a small sponge brush to spread it around. Instead, I would maybe use something like a squeegee that can move things around more uniformly rather than creating streaks. Using something like that can also help you get more excess product off so you’re not left with little bumps all over.
My last and most important advice: do not lean it directly against something when you leave it overnight. It says to leave it at a 45 degree angle overnight so that the excess can run off, but I messed up. I left the edge leaning on the poster board I was using as the ground cover, and when I went to pick it up, there was so much texture and little pieces of posterboard were stuck to the edge. Not cute.
If you can, put the legs and and prop it up on something so that it’s hovering over the surface rather than getting fused to it.
And there you have it, your very own upcycled DIY collage side table!

Hopefully this went a little smoother for you than it did for me! I know that I’m definitely gonna try again soon, and I have higher hopes for that project.
I’d love to see if you attempt this collage side table project, too! Tag me on instagram @homeyhomies if you give it a shot!
keep diy-ing, and
keep it homey, homies
About me
Hey my name’s Hannah Michelle Lambert, the voice behind homey homies. I’m an LA-based designer, writer, and content strategist. I’m passionate about the intersection of productivity and creativity. I love talking about creative habits, technology, processes, and everything in between that helps me blend the Type A and Type B parts of my brain.
You may also like…
- The ultimate guide to setting an interior design budget
- Mid-century modern design start pack
- Interior design as a side hustle
- How I use canva as an interior designer


Leave a Comment