

I did this project in mid-November, but since it was a Christmas gift to my sister, I unfortunately couldn’t share it out until I gave it to her. But now that Christmas has passed, I can finally share my how-to for this DIY hanging shelf!
This shelf costs almost nothing to make, so I would definitely recommend it if you need a lil something extra to spice up your walls. Or if you need a fun, easy DIY gift idea for a home decor enthusiast in your life.
Here’s what you’ll need to make this DIY hanging shelf:
- electric drill
- ~2‘ piece of wood
- wood stain and/or polyuretane wood finish in the color of your choice
- twine or straps in the material of your choice
- metal ring at least 1.5″ in diameter
- electric sander or sanding paper
- ruler
- pencil
- Optional: paint in the color of your choice

step one: prep your wood
When I made the first version of this for my sister, unfortunately no one was available to cut the wood segment for me at the Home Depot. So that meant I had to end up hacksawing it myself. I wouldn’t recommend this unless you have to lol. The amount of sanding that I had to do to the edges to even out an uneven cut was ridiculous.
So get someone at your local home improvement store to cut it down to size. I’d recommend around 2 feet. This is a free service, you just have to find someone around the wood area.
step two: add the holes for your straps
It’s very important to have these measured evenly and correctly in order for the shelf to hang straight.
Make the following measurements on your piece of wood and mark the spot where there’s an “X” on the diagram with a pencil on your wood.

Now, you just take your drill and drill some holes right where your pencil marks are. Apply firm, even pressure for the cleanest and straightest cut. I’m not exactly sure what size bit I used since it’s just one from my toolbox, but eyeball it based on how big your straps are that you have to fit through it. You want it to be kinda snug, but able to feed through.
step three: stain it
Note: if you want to add a painted segment to your shelf, make sure you tape it off and refrain from staining it. You don’t want to have to worry about painting over the stain, it’s best to just paint on the raw wood.
Give your wood a light sand to prep it for the stain. Smooth out any texture where you drilled and the edges where the wood was cut. A smooth surface that’s free of any little bumps or imperfections will make for the best results. I prefer using an electric sander since I have one on hand. It makes it so much faster and less painful for your hands. But if you only have sandpaper on hand, that works, too.
After sanding, wipe down the wood with a damp cloth to prep it for staining.
For in-depth instructions on the best practices for staining wood, check out this super helpful Home Depot article.
But a high level how-to: spread an even layer of your stain color of choice on the wood using a rag or some kind of fabric. Not a sponge or brush. It’s best to gradually build up the color with multiple layers than slap it all on thick at once and it ends up being too dark. Take your time and add more even layers until it gets to the desired color.
Once you get to a color you’re happy with, wipe off any excess with a rag, wait for it to dry, then top it with a polyurethane finish.
I actually really liked the color of my wood, so I chose to use just a clear polyurethane finish by itself. But in most cases, I would stain rather than just adding a finish.
step four: paint it
If you want to keep your shelf plain for a more classic, minimalist look, feel free to skip this step.
If you do want to add a little somethin’ somethin’, though, throw on some paint. You could do any pattern you want. A corner, the edges, a more organic shape, or literally anything that would fit with your aesthetic.

I would recommend using a paint sheen that is at least satin. That’s usually my rule of thumb for any surfaces that will be touched since it’s easier to wipe off and is less porous — i.e. doesn’t absorb stains as much.
step five: time for the straps
Grab the material you chose for your straps and cut 4 pieces to the same length. I didn’t make any measurement, I just eyeballed what length would be best to hold up the shelf. They’re probably around 18″, but this may vary for you depending on the length of your shelf. I would definitely recommend holding up the straps going from one of the drilled holes to up in the air, centered in the middle of the wood. Just make sure that it’s not too short that you can’t fit anything taller than an inch or so on the shelf without running into the straps.
Make sure you add an extra 2 inches or so for tying the strap off at the bottom and attaching it to the ring.
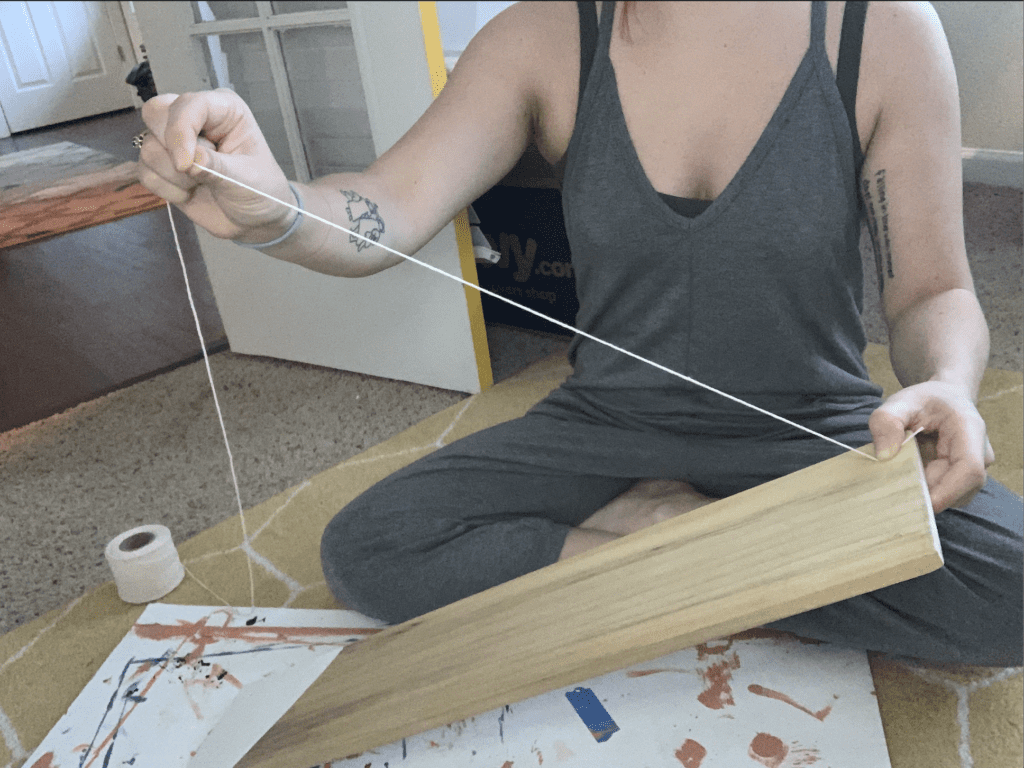
Now, just feed the straps through the holes you just drilled. It’ll be a little tight, so just be patient as you try to push it through. I ended up using a small pin to push it through from the bottom.
Once the straps are successfully fed through the holes, tie a knot at the bottom so that it won’t slip right through the hole when you put any weight on it.
step six: attach your rings to the strap and you’re all done with your DIY hanging shelf!
I just tied my straps to the ring and cut off any excess length, but you could also hot glue or super glue them. To me, tying seems a little more stable, but if your material is too thick to tie, I think that an adhesive would be just fine, just make sure you reinforce it a few times.

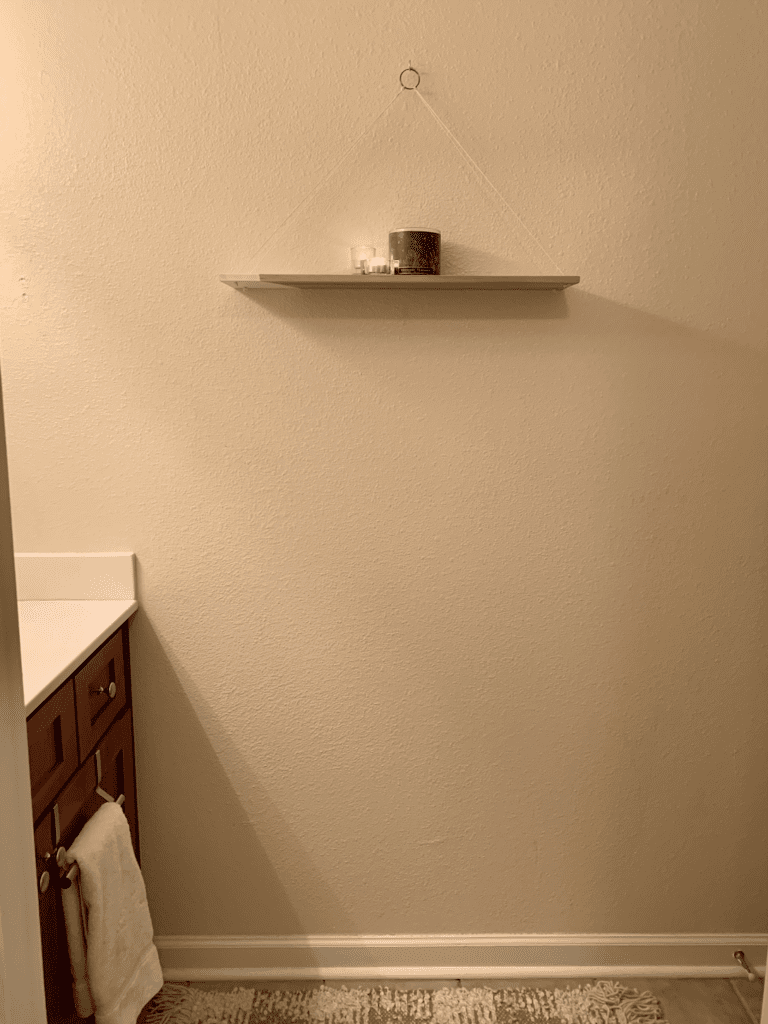
And now you’re ready to hang it on the wall! I used a c-hook to hold mine up, but you could also use a nail if it seems stable enough for you.
Depending on the straps that you chose, your shelf may be able to bear more or less weight. When in doubt, though, go lighter than you’d think. This is definitely more of a ~visual~ piece than practical. But it’s the perfect opportunity to display all your little trinkets. Here’s how my sister styled hers.
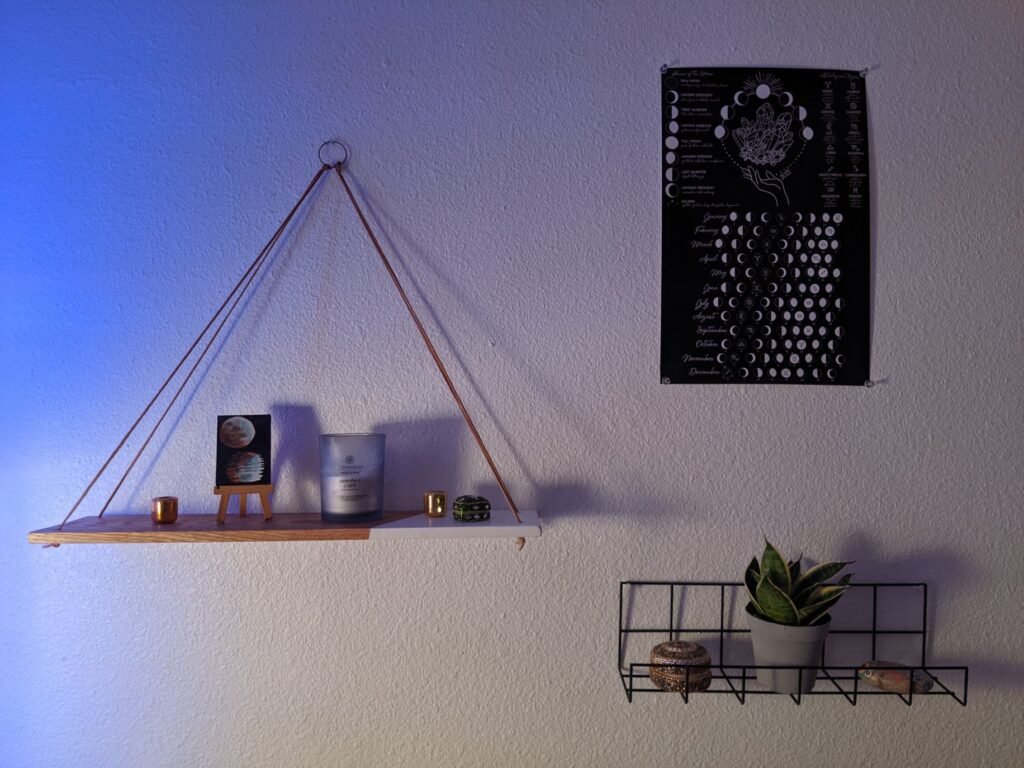
Now go ahead and style your diy hanging shelf! If you try it out, I’d love to see the end result! Feel free to tag me on Instagram at instagram.com/homieshomies. And if you’re itching to get another DIY done, check out my DIY category for more ideas.
keep it homey, homies
About me
Hey my name’s Hannah Michelle Lambert, the voice behind homey homies. I’m an LA-based designer, writer, and content strategist. I’m passionate about the intersection of productivity and creativity. I love talking about creative habits, technology, processes, and everything in between that helps me blend the Type A and Type B parts of my brain.


Leave a Comment