

It’s spring again, which means you’re probably itching to get some good cleaning in. Open up the windows, clean all the surfaces, shampoo the carpet kind of cleaning. But even if you’re a cleaning pro, sometimes it’s still helpful to have a spring cleaning checklist to make sure you hit every nook and cranny.
And that’s exactly what I’m here for. If you’re looking for the best cleaning sesh of your life, get ready. No dirt left unscrubbed.
And I’m unveiling all the cleaning hacks along the way.
If you want a downloadable checklist to print out, I got you.
Contents
1. Prepping for spring cleaning
2. The ultimate house cleaning checklist: room-by-room
3. How to maintain your cleaning
But before we get into the full process, let’s first dive into how to prep for the ultimate spring cleaning.
Prepping for spring cleaning
Follow these cleaning tips to set yourself up for a thorough and smooth cleaning process.
Take inventory
It’s infinitely easier to get the fresh and clean home you want if you cut out the clutter. Spring cleaning is the perfect time to take inventory of what you want to keep or get rid of.
This is a great guide to the ultimate decluttering. But in short, my best advice is to let go of anything that you considered getting rid of in the last purge, but you decided to keep it and still haven’t used. That’s my rule of thumb for clothing especially.
Walk around your home, see what feels like it adds value and what seems like visual clutter. Toss, donate, or repurpose the clutter.
One great tip for clothes and towels that are too ratty to donate is to turn them into rags! Not only will you be cutting out the shit that you don’t need, but you’re also gaining some useful cleaning supplies to help you check off your spring cleaning checklist items.
Speaking of supplies…
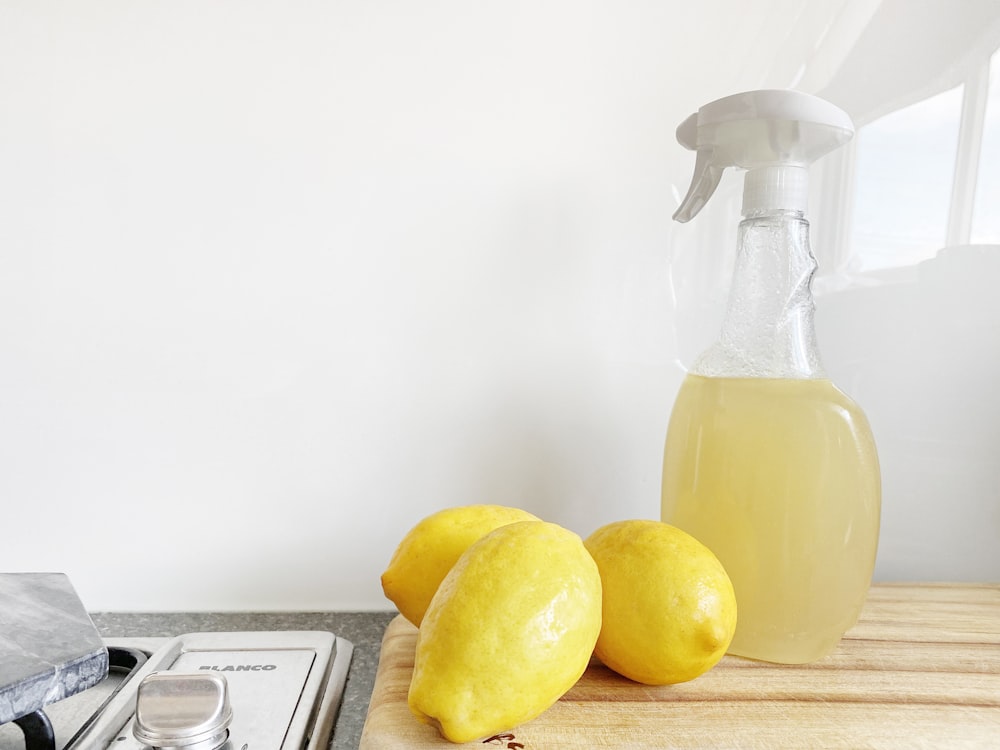
Gather your supplies: what cleaning products you need
If you want to get the ultimate deep clean, I’d recommend having the following supplies on-hand before you get started:
Surface cleaners
It could be spray or wipes. I would recommend a mix of the two. I like to use spray and rags or paper towels for surfaces like tabletops, counters, etc. And I save the wipes for the grimier surfaces.
I personally like to use more natural cleaners (like Method, Seventh Generation, Everspring or Mrs. Meyers) so I know I’m not spraying chemicals all over my house. And they often smell a lot better than the rest. But you can choose whatever’s in your budget.
Rags and paper towels
Like I said, this is a great opportunity to reuse some ratty shirts and towels. Just rip them up into small, ~8×8 in squares. This is more eco-friendly, and I find that the texture from towels is much better at picking up dust and dirt.
You should also have a couple of rolls of paper towels on hand for grimey places and mirrors as well.
Broom, mop, and swiffer
The floors are one of the nastiest places in your home. So having the tools to get them squeaky clean are key to a great spring cleaning.
A broom is an obvious one. But I like to take it a step further and take a Swiffer to the floors, too. Especially if you have a dog. Lots of hairs and little dust particles can fluff into the air when you sweep. the Swiffer locks them in.
A mop is another must. You can either go the traditional mop route or use something like a Swiffer Wet Jet for a little less leg work.
Specialty cleaners – toilet, tub, windows
Pretty self explanatory. My only tip here would be to try to complement the scent of the surface cleaner that you’ve already picked out for smell continuity’s sake. So for example, if you have a lemon-y surface cleaner, try to get a citrus tub cleaner. Or if you have an herbal surface cleaner, maybe get a eucalyptus scent for your bathroom.
Oh and another pro tip. These disposable toilet wand inserts make it so much more pleasant and convenient to clean your toilet.
Carpet or upholstery cleaners – and a vacuum
Renting a carpet cleaner is one of the best ways to spend $30 in my book. You can rent a cleaner for 4 hours from Home Depot for $25 plus tax. You just have to buy the cleaner for another $15, but it’s well worth it. With less than a bottle of cleaner and less than 4 hours, I can clean all the rugs and carpets – as well as my couch – with the rental.
If you’re looking to buy something to clean up smaller messes, one of my favorite products is the Bissell Pet Stain Remover. Obviously, it’s a must if you’re a pet parent. But it’s perfect for cleaning up other small spills and stains, too.
You could go for an all-out full carpet cleaner as well. But if you’re only going to do a deep clean of all your carpets once a year, the rental is probably the way to go.
Another obvious must if you’re going to be cleaning your carpets is a vacuum. Always vacuum your carpet before you take a carpet cleaner to them to avoid turning dirt into mud.
Final tip when it comes to carpets: if you want to keep it real budget-friendly and don’t want to purchase/rent a carpet cleaner, pick up some carpet odor eliminator powder. You can get this from the Dollar Tree, and it will give you a much better refresh than just vacuuming alone.
Misc. supplies
Magic erasers – There’s a reason they call them magic erasers. They truly can get rid of anything like magic. Whether it’s crayons, scuffs, or even a red wine splatter on your walls, it’s gone.
Fabric refresher – This is an underrated cleaning supply in my book. It’s like the cherry on top of a clean room. Trap those odors and keep the freshness going.
Pick the right time
The key to a bomb spring cleaning session is to time it out right. Ideally, clear out a whole day for it. Or 5 hours at the very least. By blocking off this time, you won’t rush to get things done. You know that this time is for cleaning, so you’ll be ready to dive fully in.
I love to make it a fun activity. Put some happy music (I would highly recommend the Dopamine playlist on Spotify) or a good serial podcast (my rec: The Opportunist) to get you in the zone. Maybe even make yourself a coffee to stay caffeinated, or a beer/glass of wine to stay perky.
You can even make it a fun couple or family activity. Cleaning can actually be super fun if you blast some music and get to it together.
Okay, now let’s get into the actual house cleaning checklist!
The ultimate spring cleaning checklist
When I said we’re going deep, I meant it. There’s not an inch of your home that won’t shine if you check off every box on this list.
We’ll start with what to do in every single room in the house. Then we’ll get to tasks for specific rooms.
So let’s get started!
Spring cleaning tasks for every room in the house
We’re starting from the top of the room and moving down, so you’re not fluffing any dust on just-cleaned floors or shelves. So it’s best to follow these steps in order.
- Remove dust off of ceiling fans and light fixtures – When’s the last time you looked up there? If you can’t remember the last time, it’s probably caked with a thick gray dust. Or your light fixture might be sprinkled with dead bugs.
There’s no better time than now to give it a good wipe down, or even a rinse in the case of a light fixture with a removable casing.
I guarantee you’re gonna be breathing air that’s just a little bit cleaner. - Wipe down shelves and all surfaces – clear the surface off completely and shake off the contents before wiping it down.
These surfaces include tv stands, side tables, coffee tables, nightstands, mantels, counters, desks, and window ledges. If it has a flat surface that can gather dust and dirt, wipe it down.
This is where your surface cleaner wipes or spray and rags come into play. - Wipe down your blinds – Similar to the tip above, blinds are often neglected. But they collect dust like crazy.
Do a big overall dusting of your blinds with a dry rag or duster. If the dust is really intense, take a wet cloth and wipe down the shades piece by piece. Time consuming? Yes. Worth it? Absolutely. - Take a magic eraser to any spots on the walls – We all have those scuffs on the walls from shoes, handprints, furniture, or whatever else makes contact with the walls. Use this time to track down every spot and make it disappear like magic.
- Clean your windows with window cleaner – this is regardless of whether they look like they have fingerprints or not. All kinds of germs and dust can get stuck to your mirrors.
For really dusty environments, wipe it down with a dry paper towel or rag first. - Scrub all baseboards and window/door frames – You’ll be disgusted (and maybe satisfied depending on how you see it) by how much dust, dirt, and grime will be on your rag or paper towel after a good wipe down. These are some of the most neglected places in the house during a regular cleaning routine, but they rather a lot of shit.
It’s a lengthy and tedious process, but that’s why it’s great to get it done during this massive deep clean.
I would recommend using a rag for extra grip and absorbency. - Clean your floors– Whatever floor surface you have – whether it’s wood, tile or carpet – this is the time to give it a refresh. So give it the full treatment.
For wood/tile, sweep, swiffer, and mop. And if you want to go all out, feel free to put a polish on your wood floors for a final step.
For carpets, vacuum and then deep clean with a carpet cleaner. Or sprinkle on some odor eliminator and vacuum it all up. - Wipe down all door and cabinet handles – Very tedious, I know. But just think of how many times a day you touch these. The germs and dirt build up quick.
- Replace all air fresheners – If you’re like me, your wall plugins will run out of juice 2+ months before you finally get around to replacing them. Although these have to be replenished more than once a year, use this opportunity to set yourself up for a good smelling home for the next couple of months.
Spring cleaning tasks for the living room

The living room is one of the most used rooms in the home. So it needs some extra special attention. On top of all of the spring cleaning checklist tasks listed above, add the following steps to your list:
- Toss pillowcases and throw blankets in the wash – If you’re like me, you’re using your throw blankets every day. And maybe your pets are, too. So even if you have a whole stack, they’re likely to be a lil stinky.
And pillowcases are even worse. You’re in constant contact with the fabric of the pillow.
Round ’em up and throw them all in the wash. Once they’re done drying, fold your blankets up nicely and arrange them in your basket, ladder, or whatever you use to store your them. - Deep clean your couch – If you think the pillows and blankets get gross, you’d be horrified by your couch. I would recommend doing a deep clean of your couch at least once a year to prevent stains, ground-in dirt, and bacteria.
Even if your couch is a dark color, there are still lots of germs on and beneath the surface.
If renting or buying a carpet cleaner isn’t in the cards for you right now, you could use your carpet cleaning powder as an easy, budget-friendly way to at least give you couch that fresh, newly-washed smell. - Clean out your fireplace – You’re probably not going to be using your fireplace in the spring much. So use this opportunity to clean out all the ashes from the winter and do a full sweep. It keeps your fireplace sanitary and safe.
HGTV has some great tips on cleaning out your fireplace by yourself.
Spring cleaning tasks for the kitchen
The constant presence of food in kitchens make them a prime candidate for some extra special deep cleaning this time of year. Here are some kitchen-specific tasks to add to your cleaning checklist.
- Clean out your garbage disposal – I’m always blown away every time I do a good flush of the garbage disposal how much better by kitchen smells. That nasty food grime really builds up.
There are several ways to go about cleaning this out. This video from Home Repair Tutor on YouTube has 4 great possible methods.
My personal favorite way to clean the garbage disposal is to wipe down the flap on the top and the bottom (of course, use a lot of caution for this). Grind some ice and salt through the disposal. And then top it off with grinding some lemon or lime peels for a really nice citrus scent. - Do a full deep clean of your oven and stove – You’re often using these all the time, so even if you are pretty good at wiping them down as you cook, shit can still get built up. So of course wipe down all the surfaces (including stovetop, doors, handles, and sides), but go the extra mile and give it a really thorough internal clean, too.
If you have a gas stove, you may or may not know that you can remove the burners to clean them. Take them all off, let them soak, and scrub like there’s no tomorrow. You can even lift up your whole stove top and clean away all the grease and debris that may have snuck down there.
Then we get to the inside of the oven. Take out the oven racks and give them a good soak. And if your oven has a self cleaning feature, let it run. If yours doesn’t (or you just want an extra good clean) get in there and start scrubbing.
Another place to clean: under your oven. If possible, scootch it out and sweep/mop underneath. - Give your microwave a scrub – Even if you’re pretty good at cleaning up splatters, it’s a good idea to give it a deep clean now.
Remove any glass plates in there and let them soak. Now get in there, spray it down, and wipe it off.
Make sure you also get the external components of your microwave like the buttons and the handle where you’re constantly grabbing and spreading germs. - Purge and wipe down your fridge/freezer – Once or twice a year, I like to remove every single thing from my fridge and wipe down every single surface.
This is a good opportunity to reorganize and get rid of old food or expired condiments. - Similarly: purge, clean and reorganize your pantry cupboards, and drawers – This includes that catch-all drawer that you’d prefer to forget about.
Take the time to empty out all of these places, wipe them down, and only put back the things that you want/need to keep.
And put them back in a way that makes them easy to access. If you need to use this as an excuse to go crazy at the Container Store or Amazon, I fully support it. Pantry organization is honestly an art form, and regardless of how quickly I binged Get Organized on Netflix, I’m no expert. So get some Pinterest inspiration or check out these tips.
But overall, the goal is to customize your organizational system to the way that you use those spaces. Think of the most intuitive way for you to access them, and make it happen. - Wash your hand towels and rugs – Small but important. Also a good excuse to swap them out for a different seasonal design.
Spring cleaning tasks for the office or den

If you’re working from home, or just spend a lot of time in your home office/den/studio, it probably needs a good scrub. These tips may not apply to every single office, so take what applies to you and add it on to your list of to-do’s.
- Wipe down your screens – Look at them right now. Are there lots of fingerprints? Somehow even my desktop computer has tons of fingerprints all over.
Obviously don’t use an liquid on these surfaces, but wipe them down with either a microfiber cloth or a cloth specifically made for screen cleaning. - Give your bookcase some extra attention – Bookshelves are like the breeding ground for dust I swear. So take all the books off the shelves, shake ’em out, wipe down the shelves, and put them back. This is also a great opportunity to play with how you want to arrange them. Color coded? Alphabetical by author? By title? Have fun with it.
- Clean your desk chair – You’re likely sitting in your desk chair every day, so it may need a little love.
You can just take a vacuum to it to pick up some surface dust and dirt. But if you have a cloth chair, feel free to use an upholstery clean to give it a good wash. - Reconsider your supply organization – My supplies closet right now is a little scary. Whenever I get scrap fabric or art supplies, in they go to the abyss. So if you’re like me, listen up and add this to your spring cleaning checklist.
Take everything out. I mean everything. Lay it all out in front of you and think of what your reasonably going to use, and what you’re probably holding onto for no reason. (I’m looking at you, 3-year old scrap of used poster board).
Then group like things. They could be grouped by color, activity, or size. Whatever makes the most sense for you and the way that you use these items.
Before you put things back, give your storage space – whether its a whole closet or just a chest or drawers – a good cleaning.
Then put everything back and promise yourself that you will uphold this organizational system for as long as you can.
Spring cleaning tasks for the bedroom
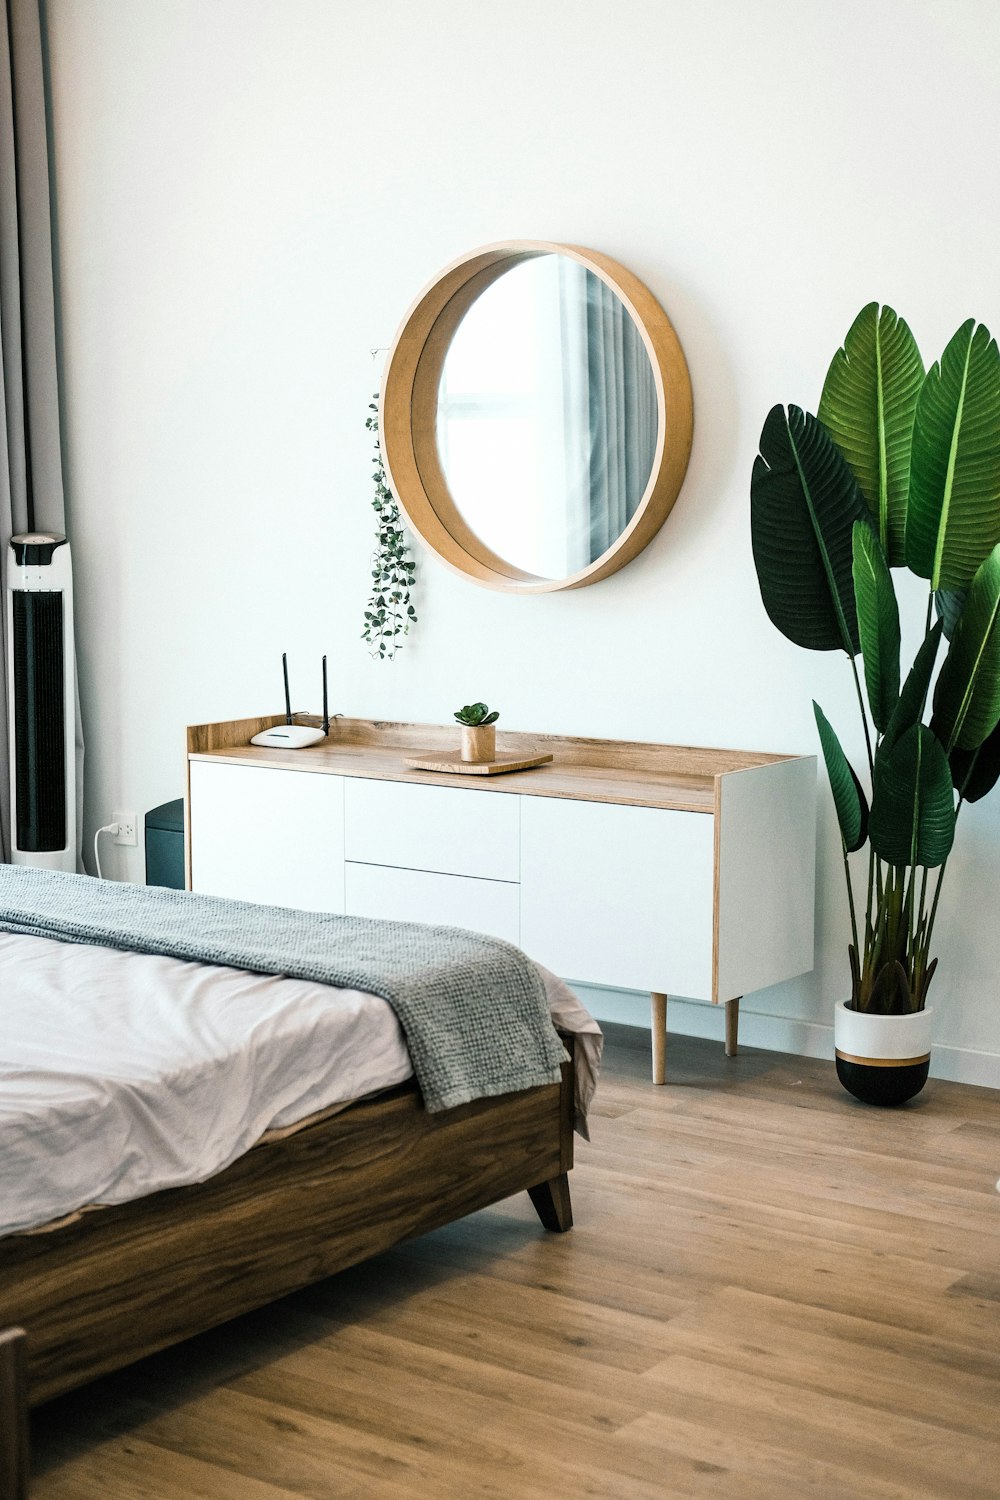
This is where you sleep every single night, so the cleanliness of this space has such a big impact on your overall health. And how comfortable you feel when you’re falling asleep. To make your bedroom the coziest space possible, add the following steps to your spring cleaning checklist.
- Wash your pillowcases, sheets, bedding, and throw blankets – You probably already wash your pillowcases and sheets on a pretty consistent basis, but now add your comforter and blankets into the mix. You may need to take it to the laundromat to fit these, but those couple of dollars are well worth the freshness you’re going to feel.
- Clean your mattress – If you rented a carpet/upholstery cleaner, pull it out for the mattress, too. Just try not to get it too wet to where it will soak too deep into the mattress and not dry correctly.
No upholstery cleaner? No problem. Follow these tips where you only need a vacuum, dish soap, laundry detergent and baking soda to give you mattress a refresh. - Scrub your bed frame or headboard – Your hands and feet touch these all the time but they rarely get cleaned. So just give it a quick wipe down to get rid of any of the lingering germs and dirt.
- The big closet cleanout – I already included doing a big purge as part of the spring cleaning checklist prep, but this deserves its own section.
Once you’ve decided everything you want to purge, I would recommend removing everything from your closet. Wipe all surfaces and vacuum/sweep any flooring.
Then decide on your organizational process. You can do it by color, by type, or by length. I like to separate by color, and then within the color organize by clothing type. It’s tedious to arrange at first but truly not that difficult to maintain.
This is also a great opportunity to swap out your winter clothes for your spring/summer clothes if you keep out-of-season clothes packed away.
Spring cleaning tasks for the bathroom
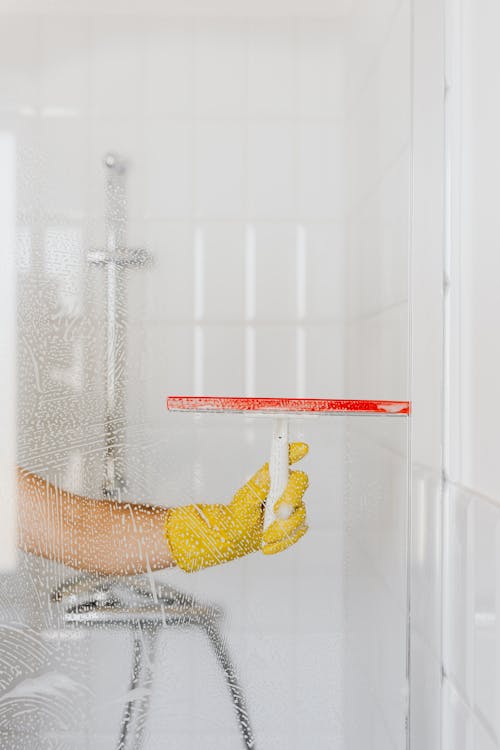
We’re rounding off the checklist with the big one. The bathroom is 100% the nastiest room in the house. And slacking on cleaning can easily become noticeable. So in addition to completing all the steps listed for every room, the following tasks will help make sure that your bathroom has a really solid foundation to maintain throughout the rest of the season.
- Clean your toilet inside and out – The toilet is clearly one of the main priorities when it comes to the bathroom. So give it a good scrub on the inside, but also make sure you give the outside some attention as well.
One of the best cleaning hacks I’ve ever heard is to use a dryer sheet to wipe down the parts of your toilet that collect dirt, hair, and all the other nasty stuff. This works SO much better than paper towel or toilet paper.
Make sure you get the bottom sides of the toilet as well. I’ll never forget when I was younger and heard people say that you can tell if a person is really clean by checking this part of their toilets. - Scrub your shower/tub – Some of us may be good at spraying down your shower every time you use it. Others of us (me lol) are not so great. But regardless of how often you give it a good rinse, this is a great time to scrub it down and give you shower/tub a good deep cleaning.
Here are some great cleaning hacks that will help you clean even the scariest of showers.
Bonus: when you’re done cleaning, hang some eucalyptus to give your shower that fresh, spa feeling. - Soak your shower head – This is a whole step on its own. If you’ve been having any mineral buildup or blockage, simply soak your shower head in some vinegar, and it’ll clear right up.
- Make your mirrors sparkle – Toothbrush splatters, condensation, and dust can easily build up on your mirrors. So use this opportunity to get them nice and clear.
For really grimy mirrors, give them a wipe with a dry paper towel first before going in with your spray. - Clean and reorganize your vanity area – This is a tedious step, but totally worth it. Remove everything from your vanity area – including things in your countertop organizers, drawers, and in your cabinets. Then wipe down all the products and the storage areas. I only do this about once or twice a year, so lots of dust and stray makeup particles always ends up coating everything. But it just looks so good when you’re done.
And of course, use this as an opportunity to redo your organizational process if what you had before wasn’t workin for you.
Maintaining your cleaning
Now that you checked off all the steps on your spring cleaning checklist and you’re sitting in your nice, clean home, it’s the best time to make sure you go the extra mile and make sure that you make it easy to keep it up.
I mentioned this in my new year’s home resolutions, and I swear by it. The key to making sure you keep your home clean year-round is to establish routines and habits. Pick a schedule that works for you and is easy to maintain. It could be doing 10 minutes of cleaning every day, or dedicating one day every week or two to give it a good clean.
When you set these routines – and stick to them – your house will never get to critical level disarray.
And that’s everything you need to do the best spring cleaning of your life!
If you follow all these steps on the checklist, I guarantee that your house is never going to feel cleaner. If you think I missed any important steps, feel free to drop them in the comments below!
And now that you’re done cleaning, my favorite part is treating myself to a lil something to help me enjoy my clean home even more. It could be something small like a $10 candle to light, or you could grab some fun new accessories like throw blankets or pillows.
You put in a lot of hard work, so you deserve it 😉
And now that you’ve got a sparkling clean home, it may be time to get your design together. Looking to get some tips on how to create a home that you love? You can sign up for the homey homies biweekly email for trend tracking, sale alerts on home decor, design tips, and all the design inspiration you could ever need.
Want to dive right into some content right now? Check out the posts below:
New Year’s home resolutions to create a home you love
9 ways to make your home look more expensive *renter friendly*
How to incorporate color into your home
The top interior design trends in 2022
About me
Hey my name’s Hannah Michelle Lambert, the voice behind homey homies. I’m an LA-based designer, writer, and content strategist. I’m passionate about the intersection of productivity and creativity. I love talking about creative habits, technology, processes, and everything in between that helps me blend the Type A and Type B parts of my brain.
Note: This post may contain affiliate links, so I may make a small commission if you make a purchase. But this does not increase the cost to you at all – it comes out of the seller’s pockets.


Leave a Comment