

Thanksgiving is my absolute favorite holiday. Although I’m not down with the problematic origins of this holiday, I think most of use just use it as a time to reflect on what we’re thankful for, eat good food, and spend time with the people we care about. As I’ve gotten older, though, the thanksgiving subsidiary “friendsgiving” is slowly overtaking thanksgiving. As someone who loves entertaining, I’ve come to love hosting friendsgiving. And since I’m me, I want to have a killer friendsgiving tablescape for my guests.
The overall decor, but the tablescape especially, sets the vibe for the whole event. Yeah, you could just set out some folding chairs and card tables with paper plates. But if you take it a few steps further, your friends will feel even more love and gratitude since you went out of your way to create something special for them.
Plus, it’s just fun. And your decorations are gonna dominate the IG story feed.
so how do you get the perfect friendsgiving tablescape?
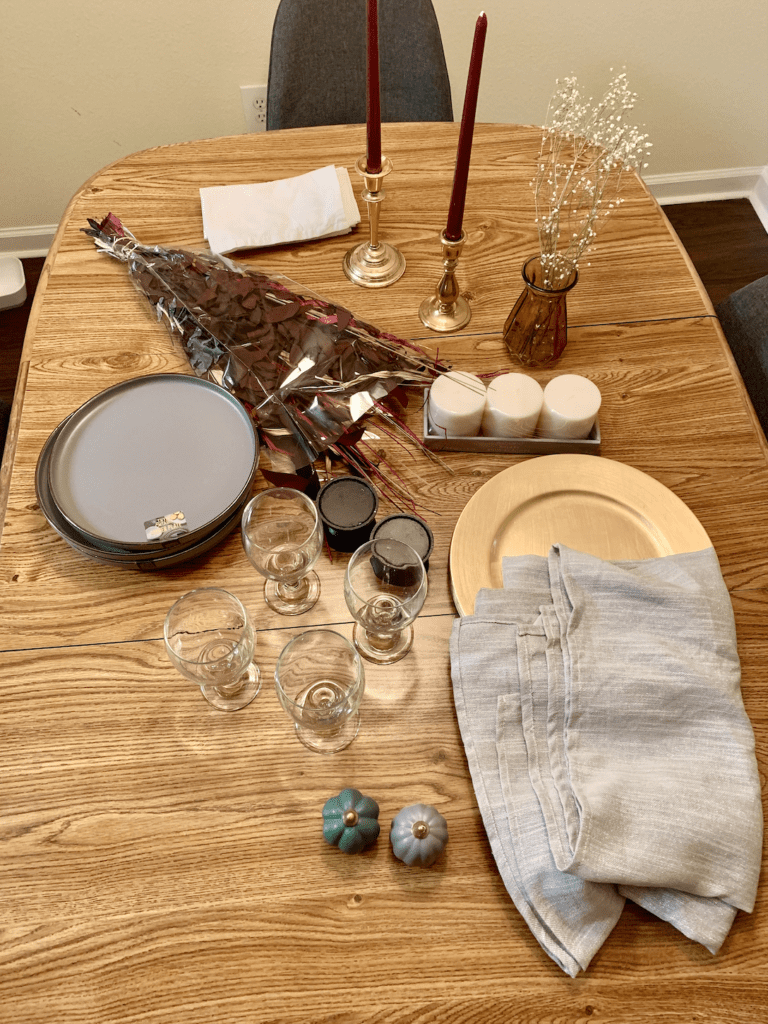
Luckily, a phenomenal friendsgiving tablescape doesn’t have to break the bank. Or take forever to set up. I’m breaking it down into just 7 steps that anyone can follow with mostly things you either already have or can get for cheap.
layer 1: runner or tablecloth
I love the texture that a runner or tablecloth adds to a table. You can do a full tablecloth if you want to disguise the table underneath, but I personally prefer a runner.
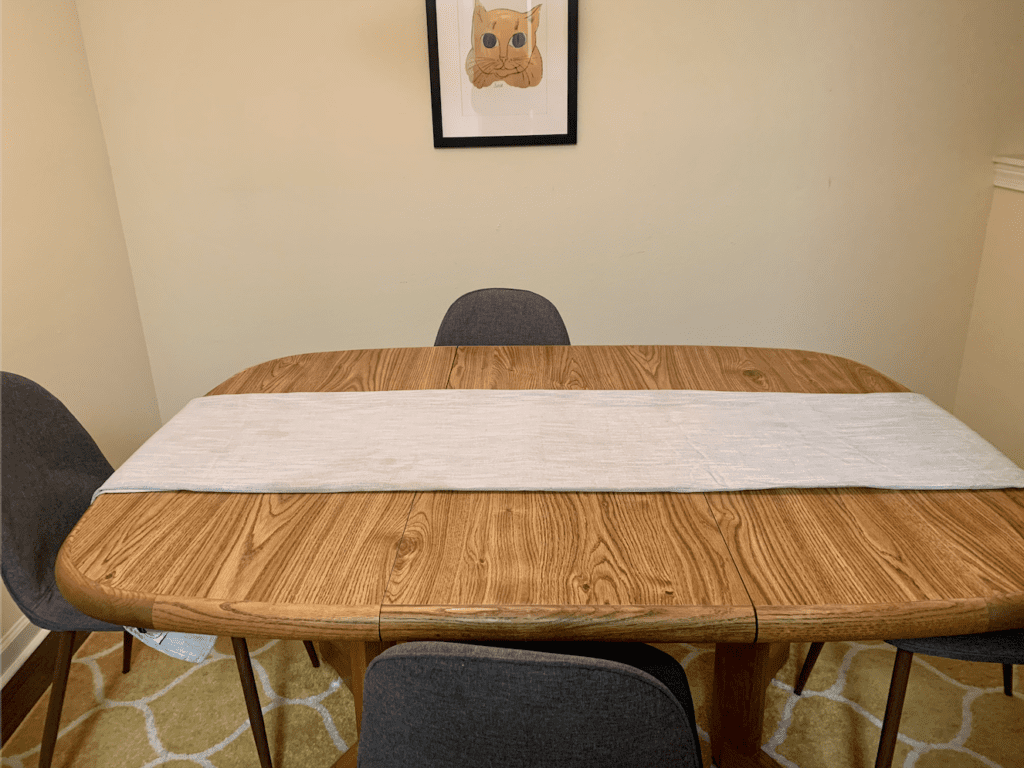
Don’t have a runner? Just do what I did and fold a tablecloth up to make your own. You can also use a scarf or other spare fabric you have laying around to improvise.
You can either lay it flat or bunch it up to create even more texture.
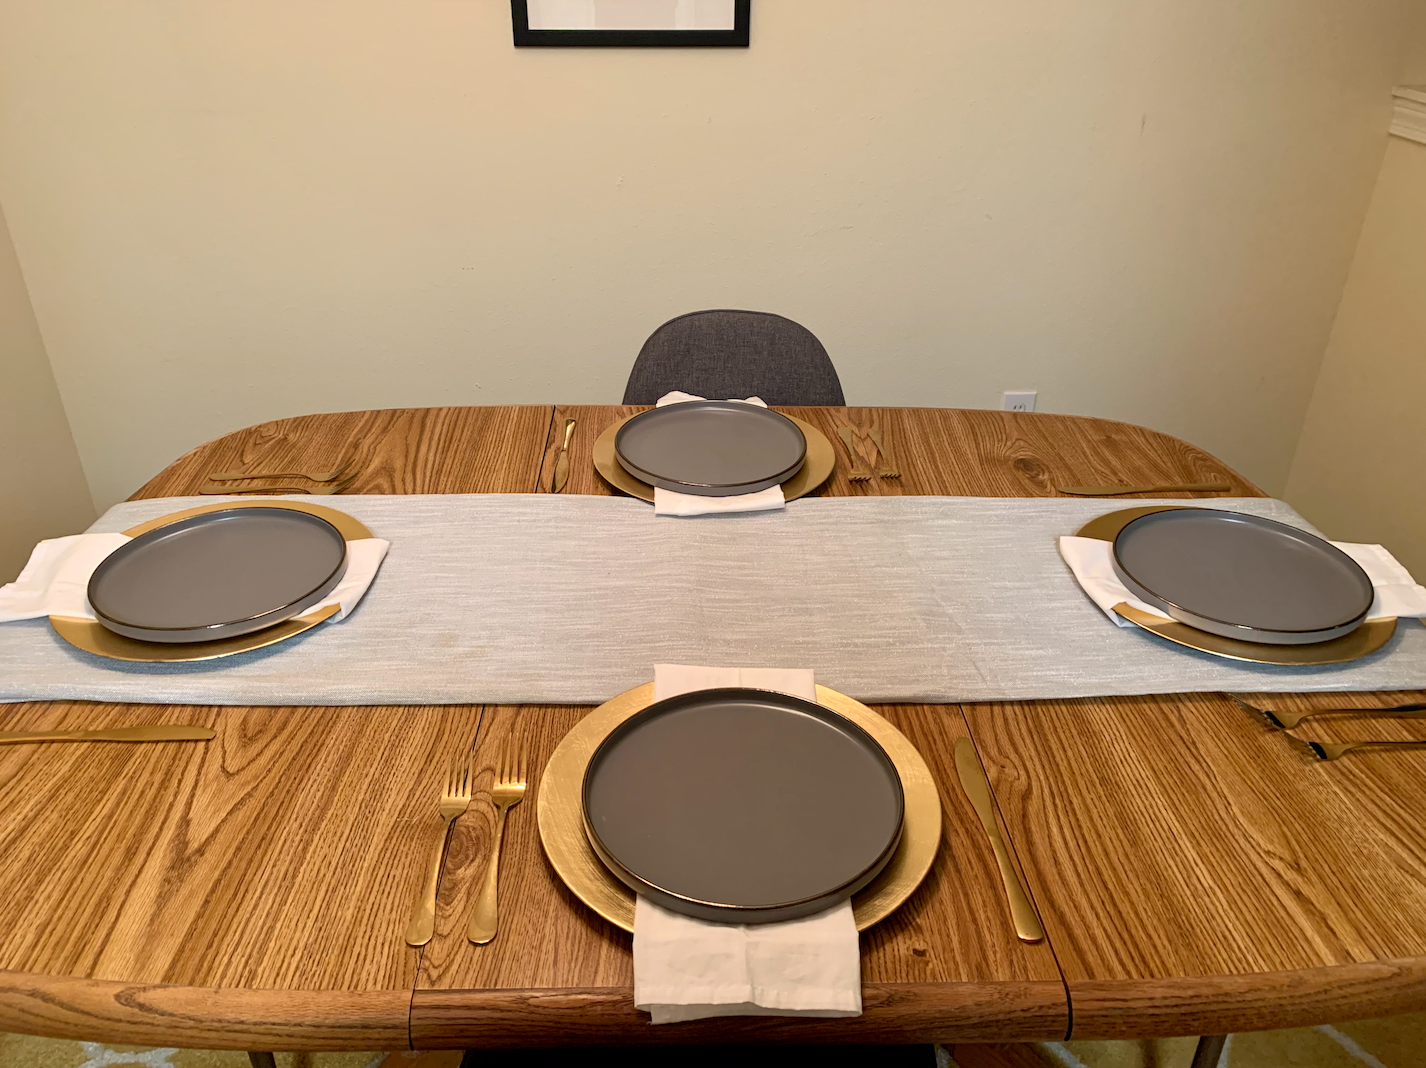
layer 2: chargers
Chargers are one of the easiest ways to automatically elevate the look of your table from regular old dinner to fancy dinner. It just shows a little more formality.
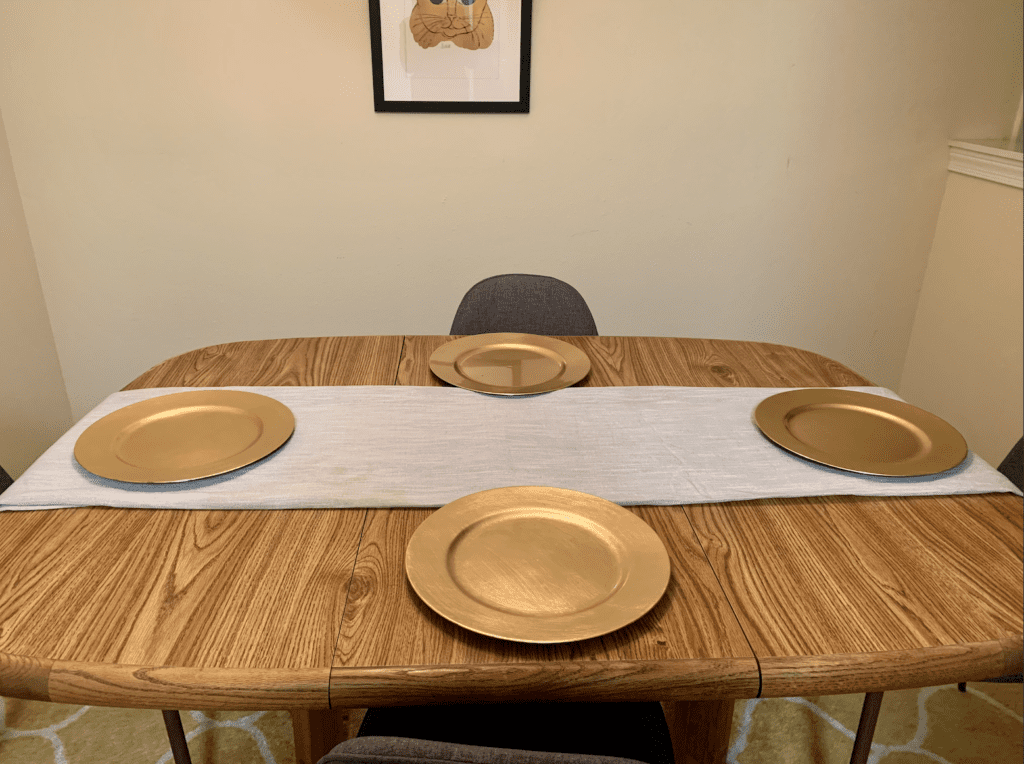
For the sake of not having to buy new things, I just used these gold chargers that I had on hand. You can get these at pretty much any craft store like Michael’s for really cheap. What I wanted to do — and what you could do if you wanna splurge — is to get some nice wooden ones. They would definitely elevate the look a ton. But for now, the gold ones will do.
layer 3: plates
Now grab your plates and stick them on top of your chargers.
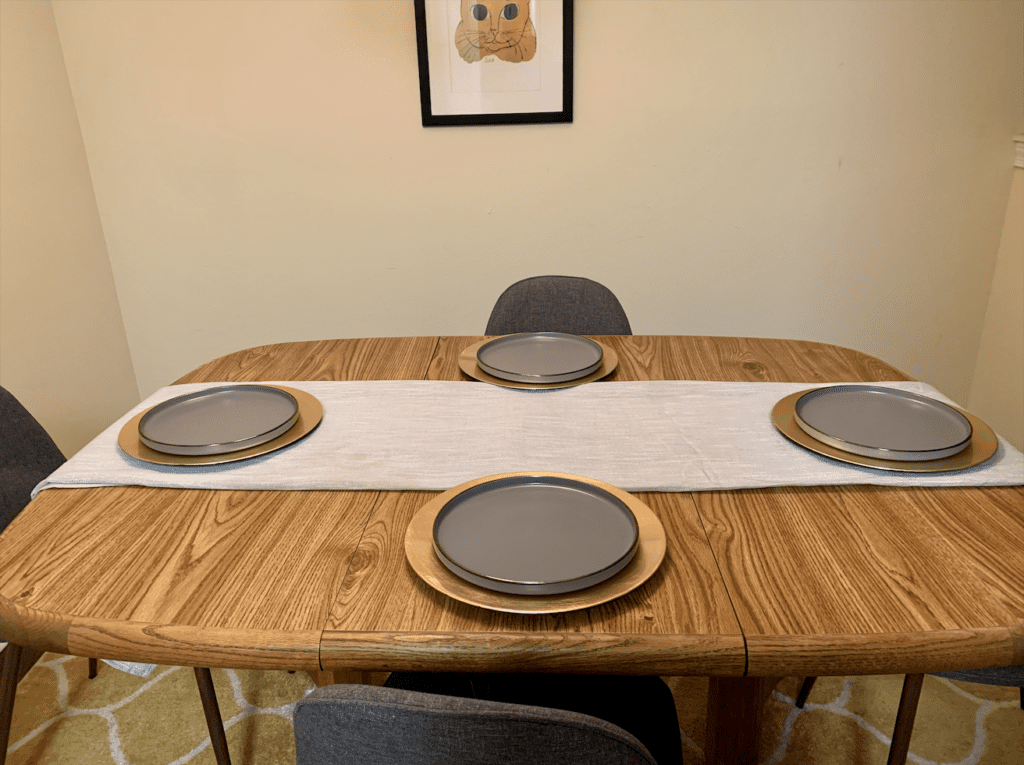
The key here is to just have plates that match each other as well as your theme. There’s no need to go out and buy new plates if you have enough perfectly good plates at home.
If you are looking to buy some new plates because yours don’t match, you don’t have enough, or if you just want some new ones, I recommend these ones that I got at Walmart. They were less than $4 each and have that cool, flat-with-a-raised-edge look that I love. And they fit my theme perfectly. They’re also available in black.
layer 4: finish off the place setting
I’d like to personally shout out my time working as a wedding coordinator and an event manager for a catering company for coming through with the knowledge here about place settings.
First of all, make sure your silverware matches. If you want some cheap, cute silverware to spice it up a bit, here’s the gold set I bought on Amazon a while ago.

Next, make sure you place the silverware correctly. Here’s a diagram if you need a little guidance:
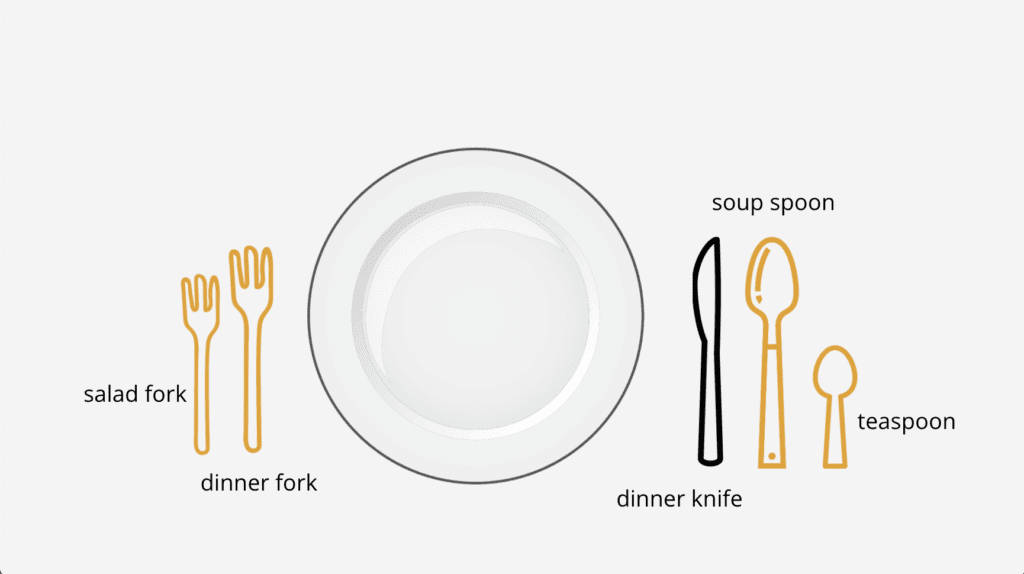
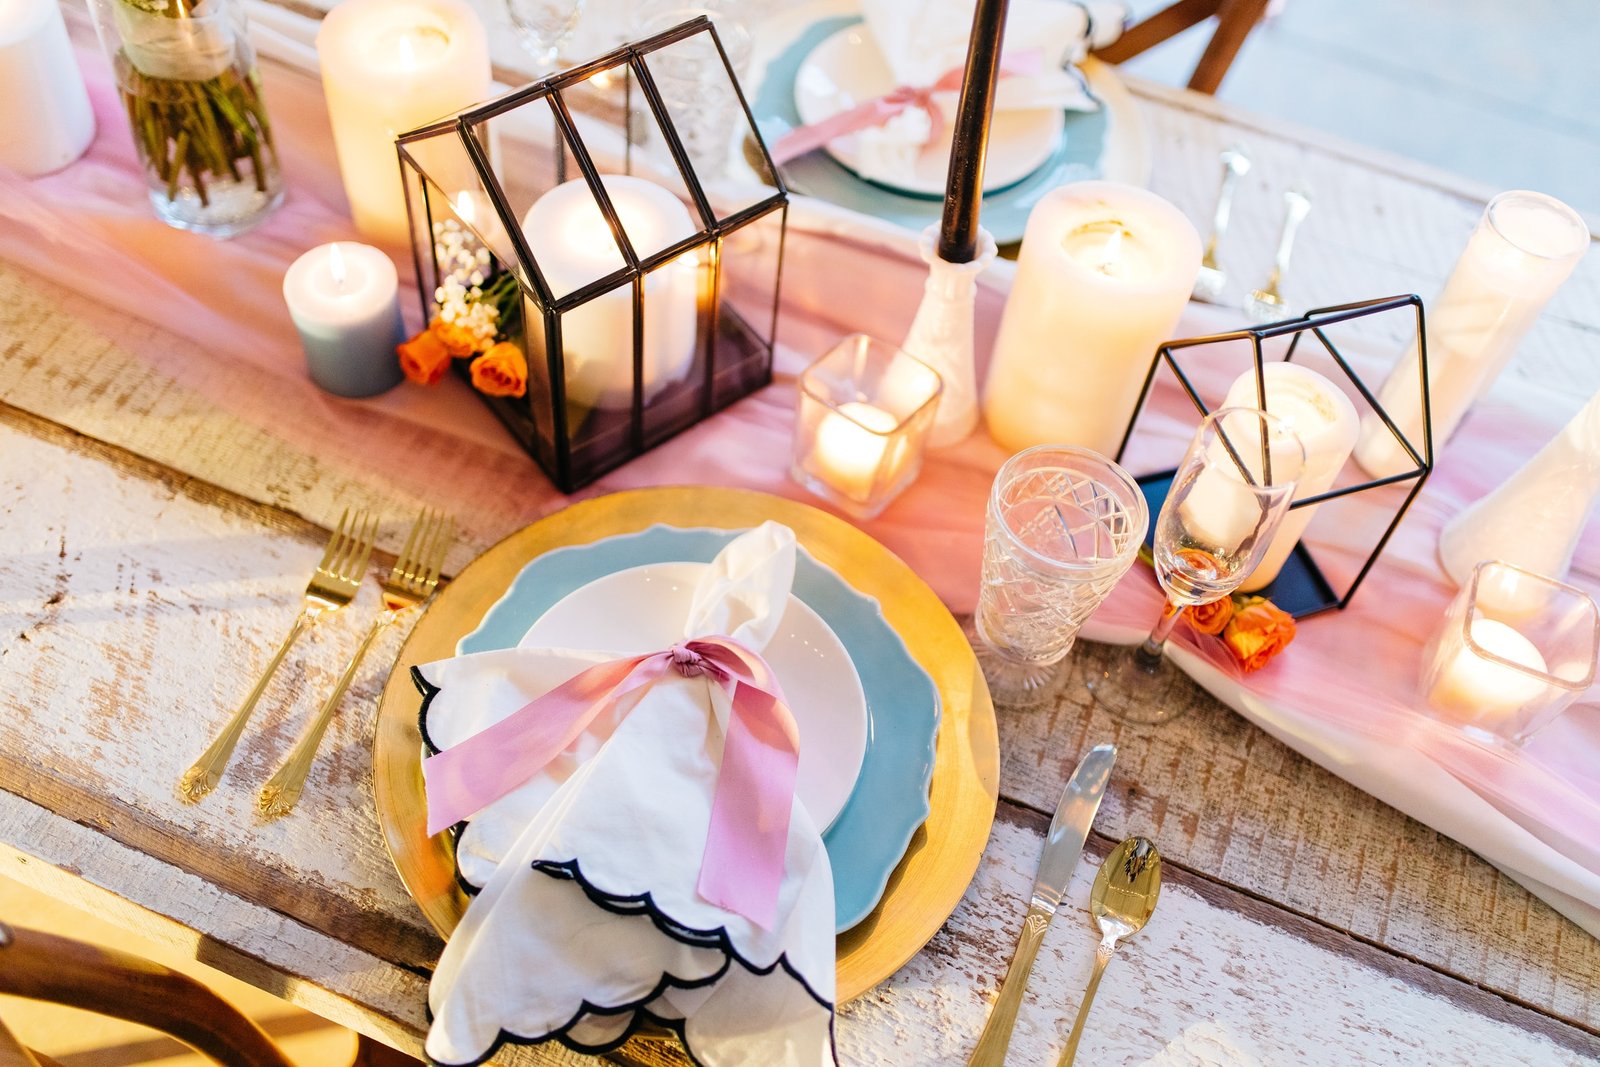
The napkin is where you can get creative. I was hoping to find some mustard yellow napkins, but couldn’t find them anywhere. So I made do with these really cheap ones I got from Walmart over a year ago. I chose to just place the napkin between the charger and dinner plate, but there are so many cool ways to fold napkins. (And I’ve probably had to do all of them at some point *eyerolls in wedding planning*)
Here are some ideas if you need them.
To take it to the next level, you could always make some place cards with names on them, make a cute little menu, or clip some fresh greens/flowers to garnish the plates. Or add other decorations like little pumpkins that you think your friends would appreciate. Up to you.
layer 5: add some candles
Candles will add so much drama to your friendsgiving tablescape. Especially if you’re hosting in the evening and can dim the rest of your lights.
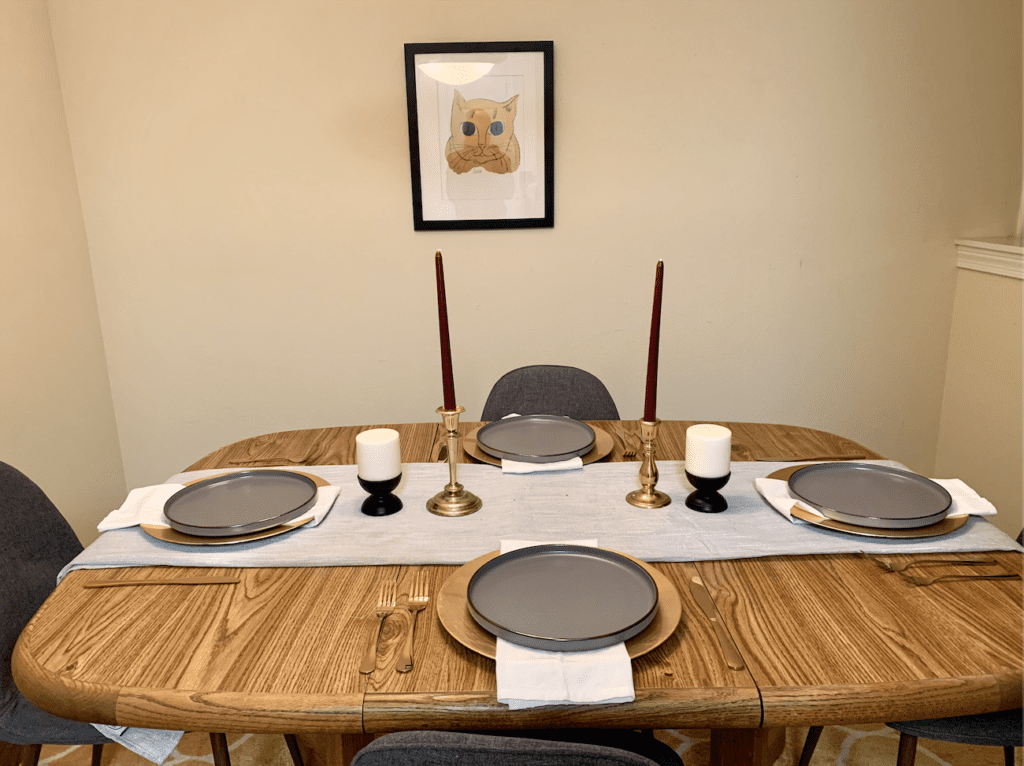
Try to stagger the height and size a little bit. Here, I have 2 tall, skinny candlesticks with burgundy candles to match the theme. Then I have 2 short, wide candles. You could also add some tea light candles throughout.
Just make sure that you’re not adding too many to where it becomes a fire hazard by easily being knocked over or burning someone as they’re reaching for something.
I love scoping out thrift stores to find candlesticks/holders, so I had these on hand and didn’t have to buy any. I would definitely recommend going thrifting first before buying them new if you need some. Plus, as is always the case with thrifting, you can find some really cool, unique ones that they wouldn’t necessarily have at places like Target or Home Goods.
layer 6: throw in some decoration
These cool, burgundy/purple-colored leaves were from Walmart for around $4, and I feel like they really brought everything together. I threw some in the centerpiece with the baby’s breath I already had and scattered it around the center, and boom: it looks like a professionally done centerpiece.

These are faux, and for this purpose, I don’t think it matters at all. These things are always cheap at Walmart and always on sale at Michael’s.
If you want to go for the real stuff, Eucalyptus from Trader Joe’s is really cheap (under $5), looks great, and lasts FOREVER dried out. You can also check the flower section at your supermarket.
Another safety precaution: make sure the plants are not in danger of being in contact with the candle flames.
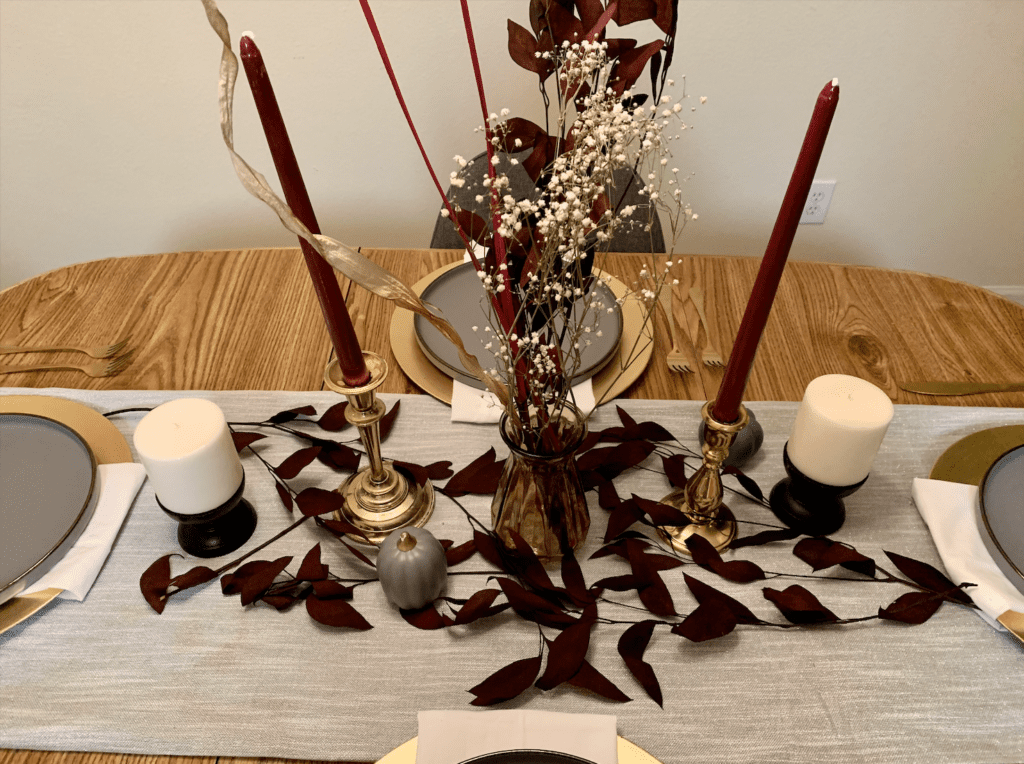
After the “greenery,” I just threw in some little ceramic pumpkins that I already had from Target’s bullseye’s playground section that’s at the front of every store.
layer 7: add your glasses and place the food you want on the table
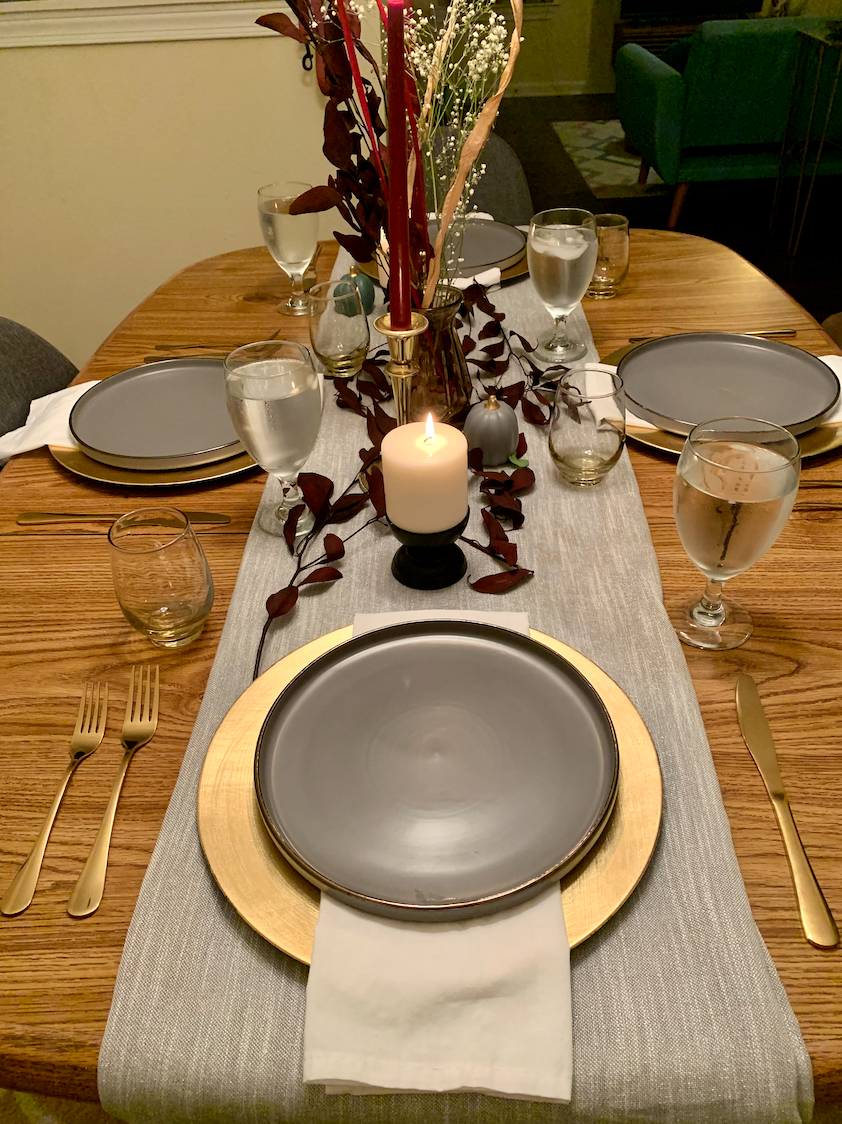
I bought these 4 water Goblets (for only $5 from Walmart) because I wanted to be a little extra. But you could easily just use any regular, matching glasses you have. And I set out wine glasses, too, because they fit the theme and I know that me and my friends will be drinking wine for sure. Cute glassware can really make a difference.
Pro tip: I also got these vintage wine glasses at the thrift store a while ago for $1 each.
Now I would recommend setting up your main “buffet” on a separate countertop so you have more room on the table. But place anything that you’d want more consistent access to on the table. Things like butter, rolls, gravy, etc. Bonus points if you have cute, matching serving ware.
You know I’m gonna say it: I also almost always get all my serving ware from thrift stores. If you’re looking for a sign that you need to go to a thrift store, here it is.
now your friendsgiving tablescape is complete!

And that’s it! Super easy and super cute. To me, hosting a cute ass dinner party for your friends is a love language in itself. So I hope these tips helped and will make it so much easier to show your friends how much you love and appreciate them.
stay grateful, and
keep it homey, homies
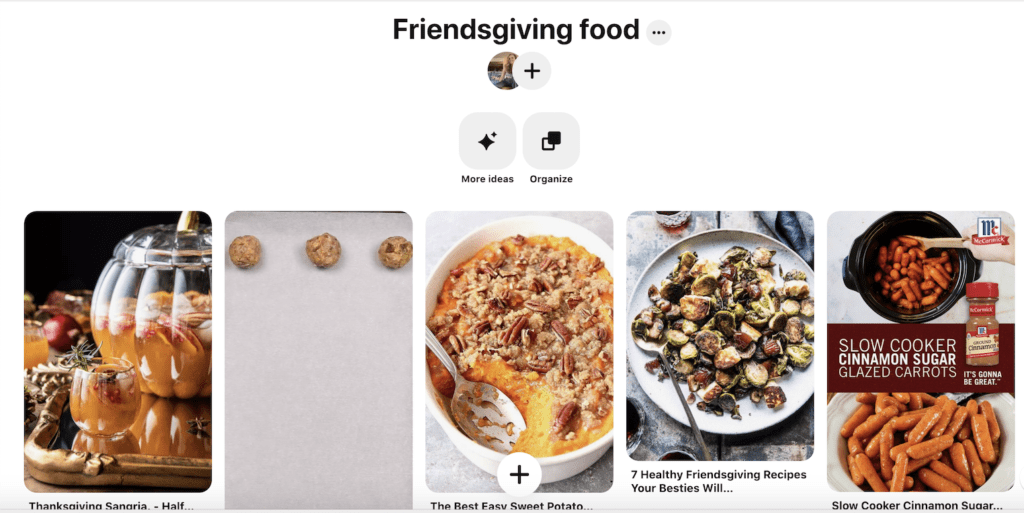
Need some help deciding on what food to make? Follow my Pinterest board here.
About me
Hey my name’s Hannah Michelle Lambert, the voice behind homey homies. I’m an LA-based designer, writer, and content strategist. I’m passionate about the intersection of productivity and creativity. I love talking about creative habits, technology, processes, and everything in between that helps me blend the Type A and Type B parts of my brain.


Leave a Comment