It took longer than I’d like to admit to get around to decorating my bedroom. For some reason, the bedroom is always the last place that I get around to decorating. So I just had a bare box for the longest. But I had a vision of creating a mood jewel tone bedroom of my dreams. So I finally made it happen.
the vision: moody jewel tone
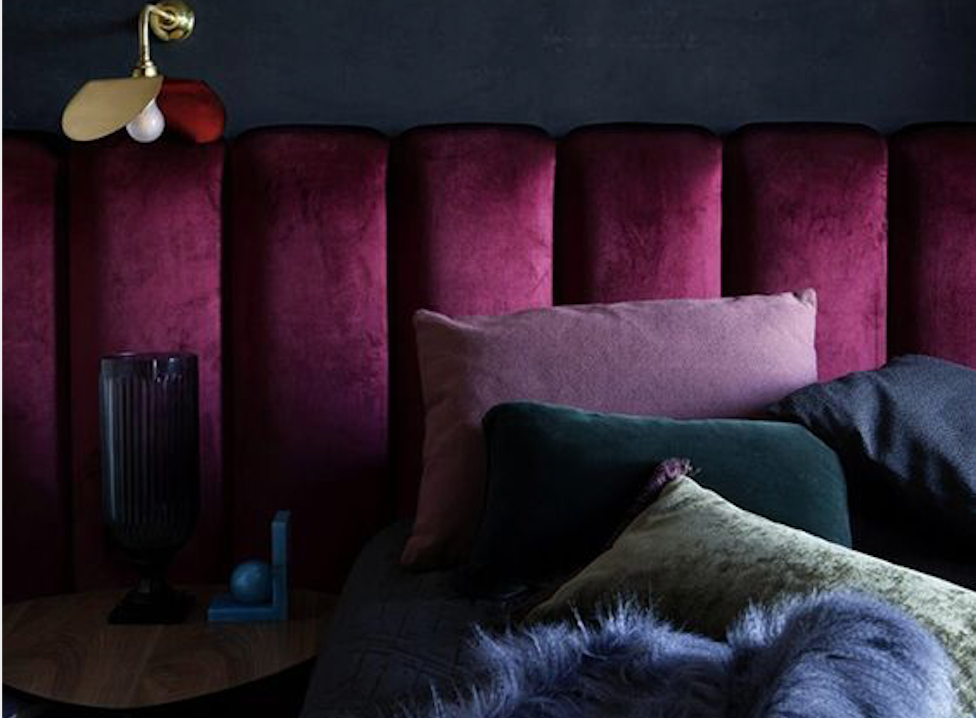
For the past year or so, I’ve been obsessed with moody jewel tones. Especially in bedrooms.
There’s something so glamorous and lush about the drama and texture. While it’s not something that I would necessarily want in the rest of my house, it’s perfect for the bedroom.
Dramatic enough to make a statement, but dreamy enough to help me relax.
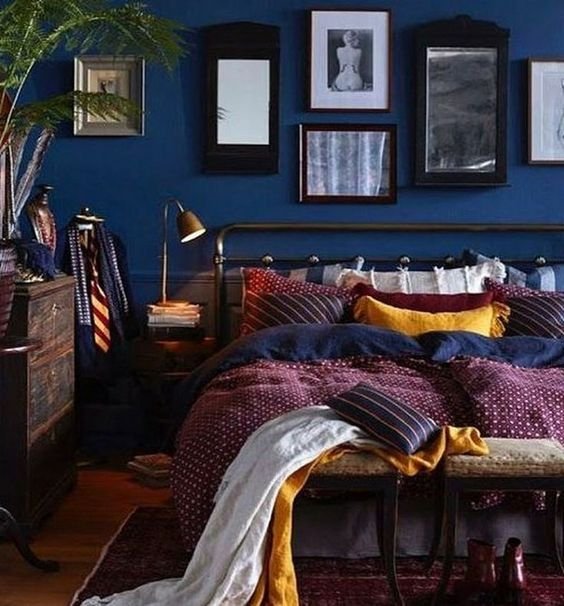

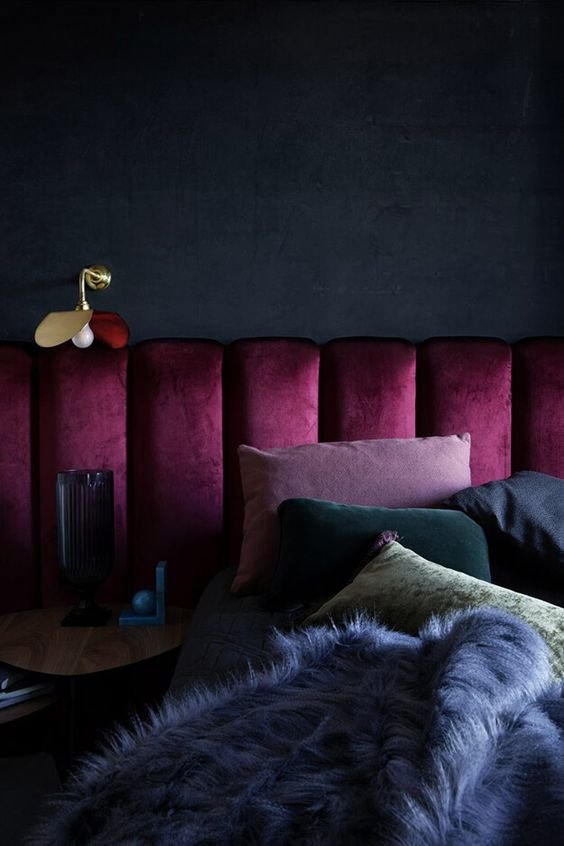


The main thing that I knew I wanted was lots of velvet texture. Luckily, I already had my navy velvet quilt that I got from Target last year (for only $50!). So that was a perfect start.
the “headboard”
So my next move was to find a headboard. And I wasn’t sure I wanted a typical headboard — mostly because of price.
But I also wanted to see if I could do something more creative. And so when I was at Ikea and saw these thick velvet curtains, I knew my next move.


I decided to create a mock “headboard” out of the curtain. It immediately added such a grand aesthetic to the room. And it gave me my major accent color: gold/mustard.
Now for those of you who know that I went to University of Michigan (and our colors are maize and blue): no, I didn’t do it on purpose. And yes, it did make me stop and pause about if I made the right decision. But ultimately, I decided I do love it.
And I’m planning to add some more little pops of emerald green and deep purple to take away from the U of M-ness and add to the moody jewel tone -ness.
the accessories
For the real homey homies here, you know that the pictures I hung next to my bed used to be in my office. But I ended up getting some new art for the office (office update up now!) and figured these collages looked better in my room.


The gold frames, rich colors, and kinda luxurious themes fit perfectly with the vibe I was going for. And they looked perfect with this tiny little mushroom-shaped bedside lamp that I found at Ikea for only $10!
my styling area
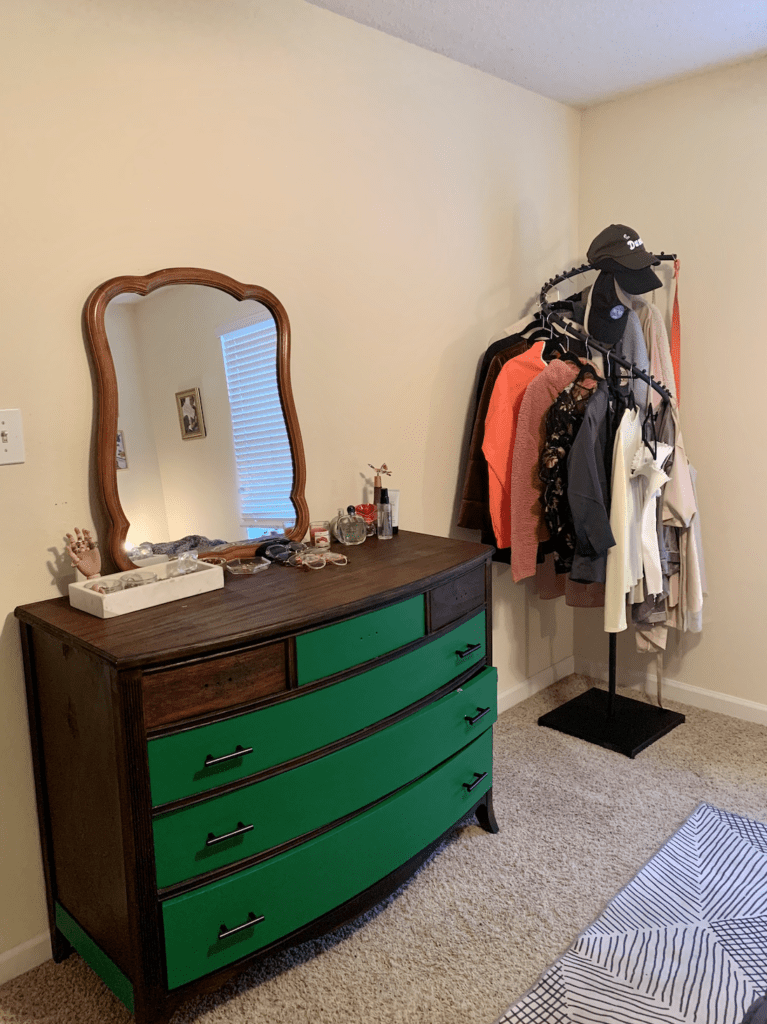

Every single piece of furniture here was used when I got it.
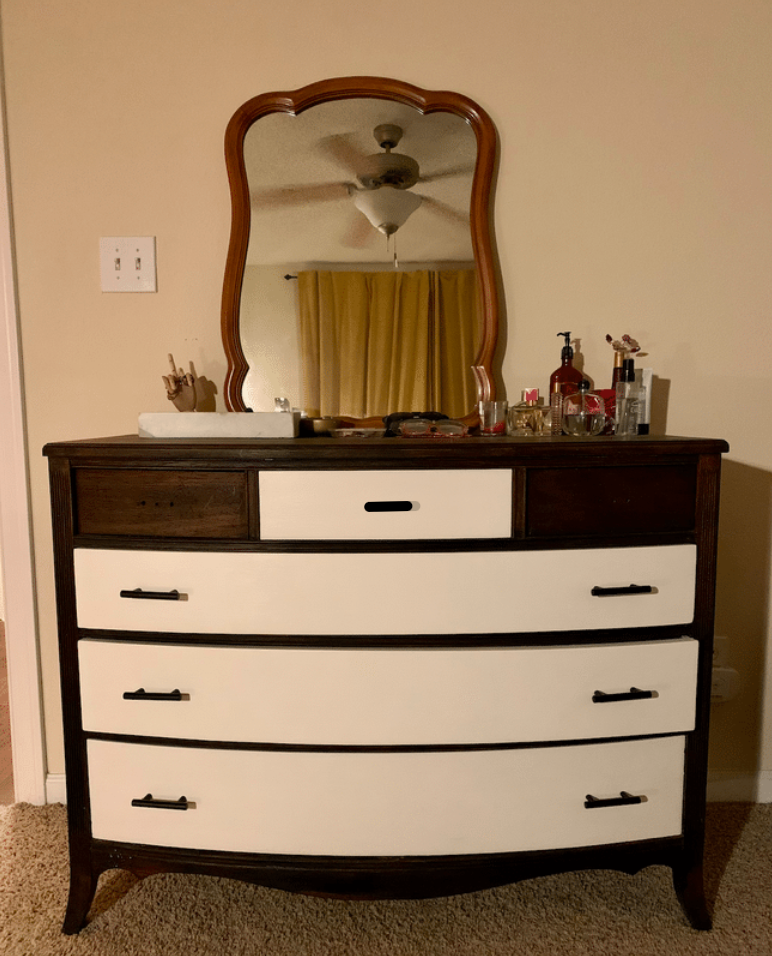
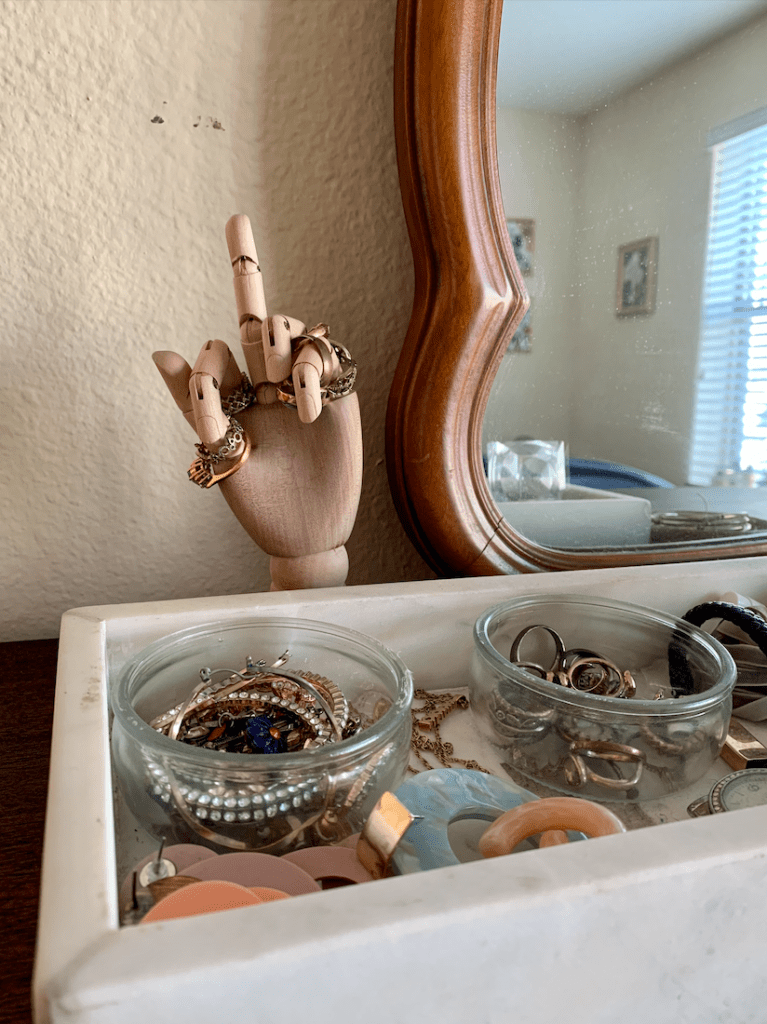
The mirror was $8 from a garage sale. The dresser I grabbed from the side of the dumpster in my apartment complex and refurbished. And the clothing rack is something I got secondhand years ago.
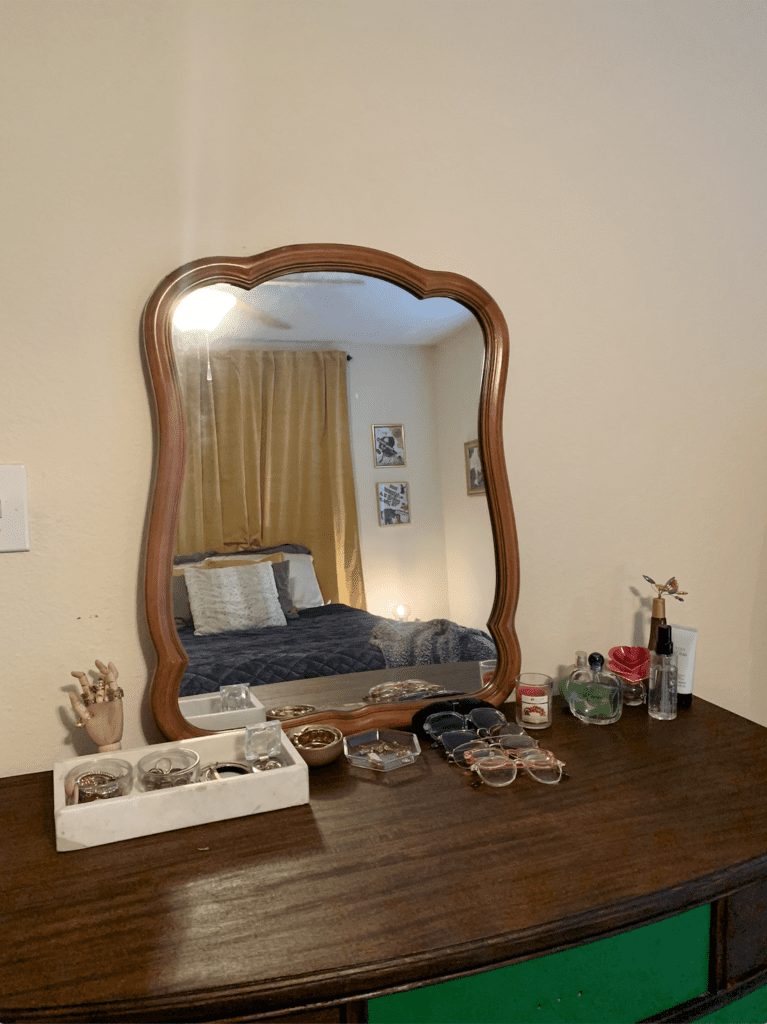

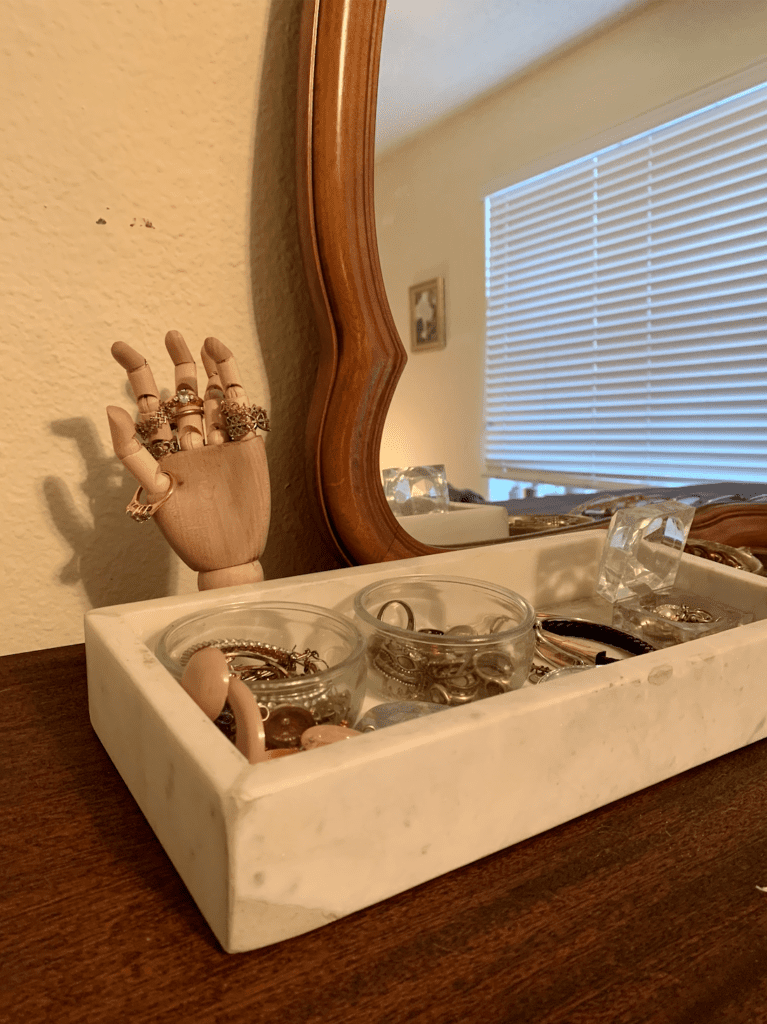

I wanted this to be like a little getting ready area where I can finish off my outfits with jewelry, sunglasses, and perfume. There’s definitely a lot more that I can do with it, including maybe a sunglass holder and a tray for my perfumes. But I’m satisfied with the start.
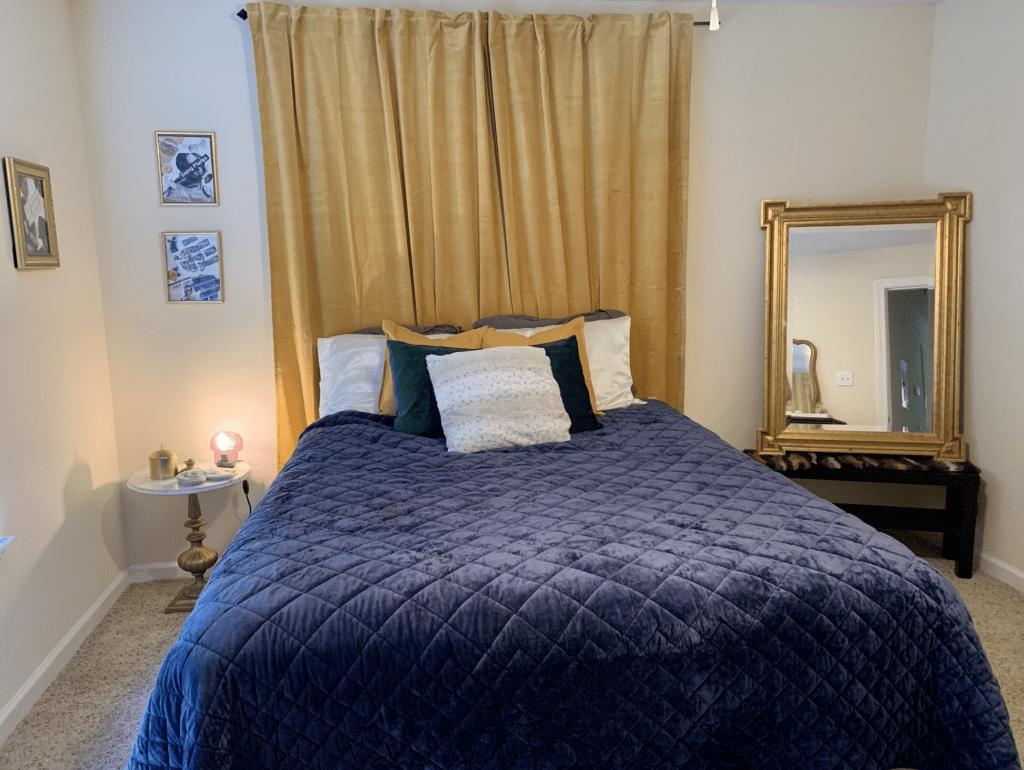

And the setup to the right of my bed has literally been the same for the last 2 years, but if it’s not broke, don’t fix it. And the scarf draped over the mirror stand fits perfectly into the color scheme.
mostly done, but not totally
I’m so relieved to finally not feel underwhelmed about showing my room to people! But some small changes are still going to be made:
- a new, cozy rug
- a bedskirt, because that shit looks so trashy
- some more jewel toned throw pillow covers and blankets
- some finalizations to the styling area
Stay tuned for those updates eventually. But overall, though, I’m VERY pleased with how it all came together! I’m well on my way to the moody jewel tone room of my dreams. Honestly, the curtain made 90% of the difference. So I’d highly recommend that headboard hack.
keep it homey, homies
hi future hannah here
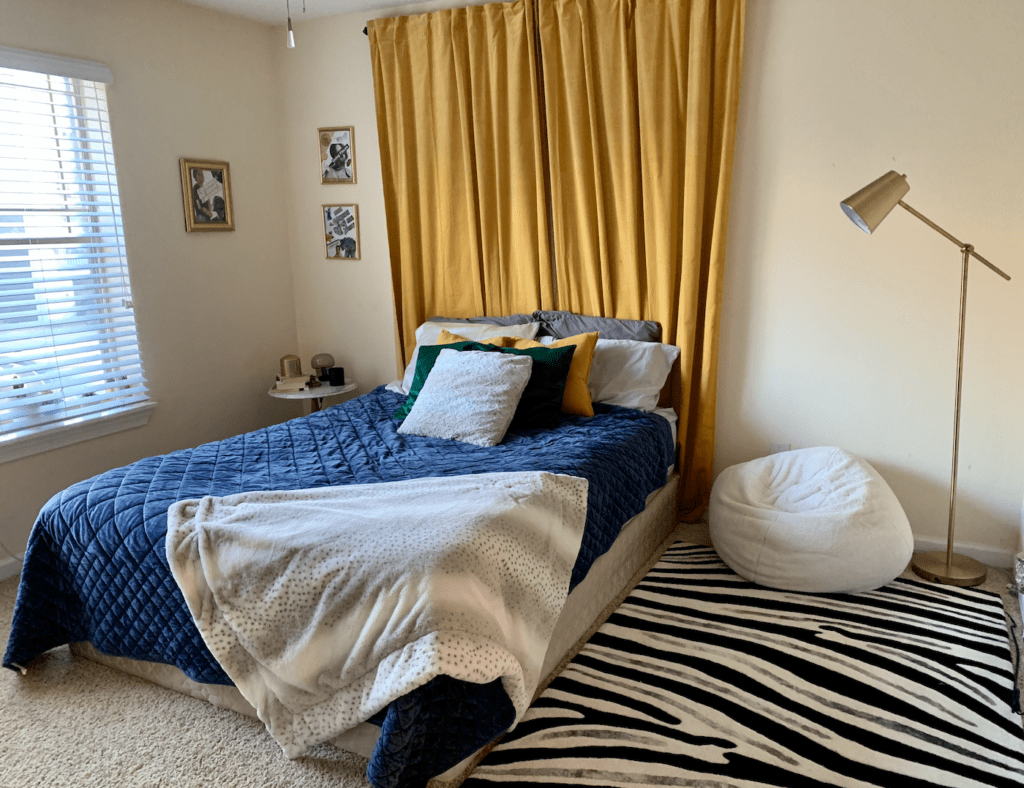
I made some small updates to my room so I thought I’d share some pics with you below 😛




even further into the future hannah here
I changed up my room completely! And I did it in under $200. If you wanna see the full decoration process and see how I did it for so cheap, head to the blog post “Budget bedroom makeover: under $200“.
Here’s a sneak peek of the mood board I made for some inspiration to get started:


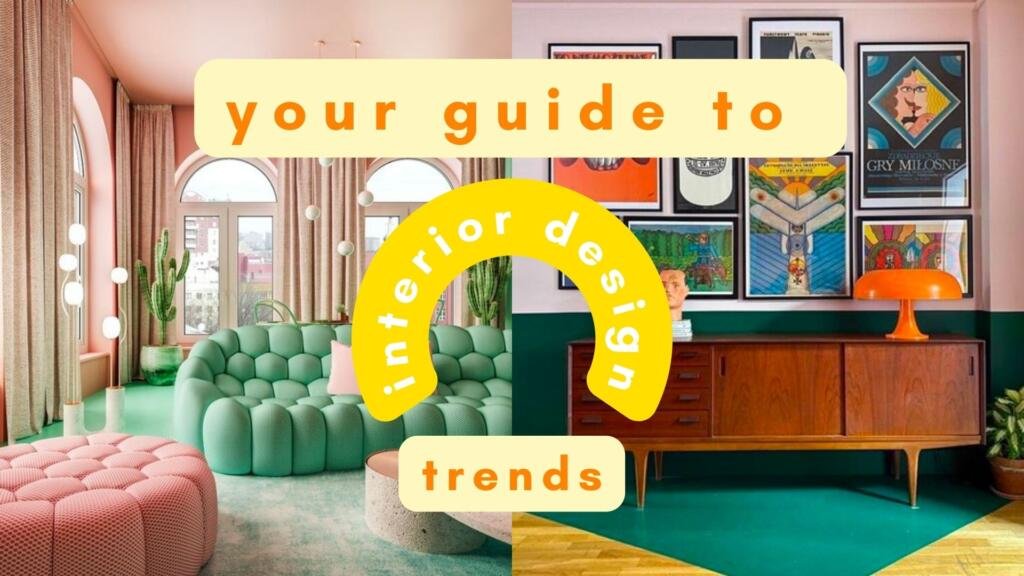
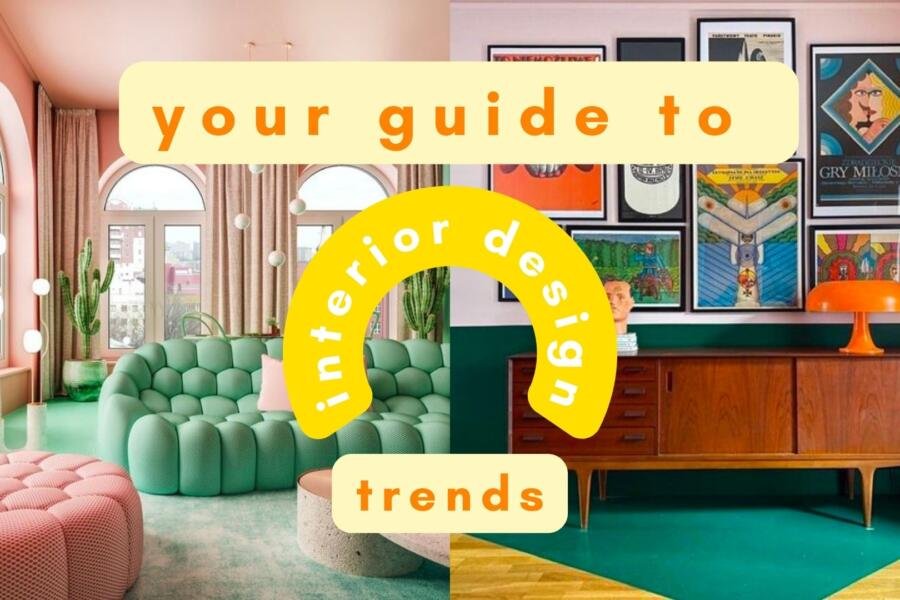
Your Complete Guide to Interior Design Trends
Want to know more about where interior design trends come from, who decides them, why some stick while others don’t, and how to apply them while maintaining your own personal style? Check out my complete guide blog post.

You may also like…
• Mid-century modern essentials: MCM starter pack
• Budget bedroom makeover: under $200
• The best digital tools for design
• How to create an interior design mood board
About me
Hey my name’s Hannah Michelle Lambert, the voice behind homey homies. I’m an Atlanta based blogger and interior designer. I’m passionate about fun, adaptive, and affordable design full of personality. And I’m a huge believer in a good DIY. Thanks for stopping by and I hope you find the inspiration you’re looking for – and maybe a little extra 😉




You are a great writer!
Great content! Love this excellent article. I really enjoyed reading this. Keep up the great work.